Database Reference
In-Depth Information
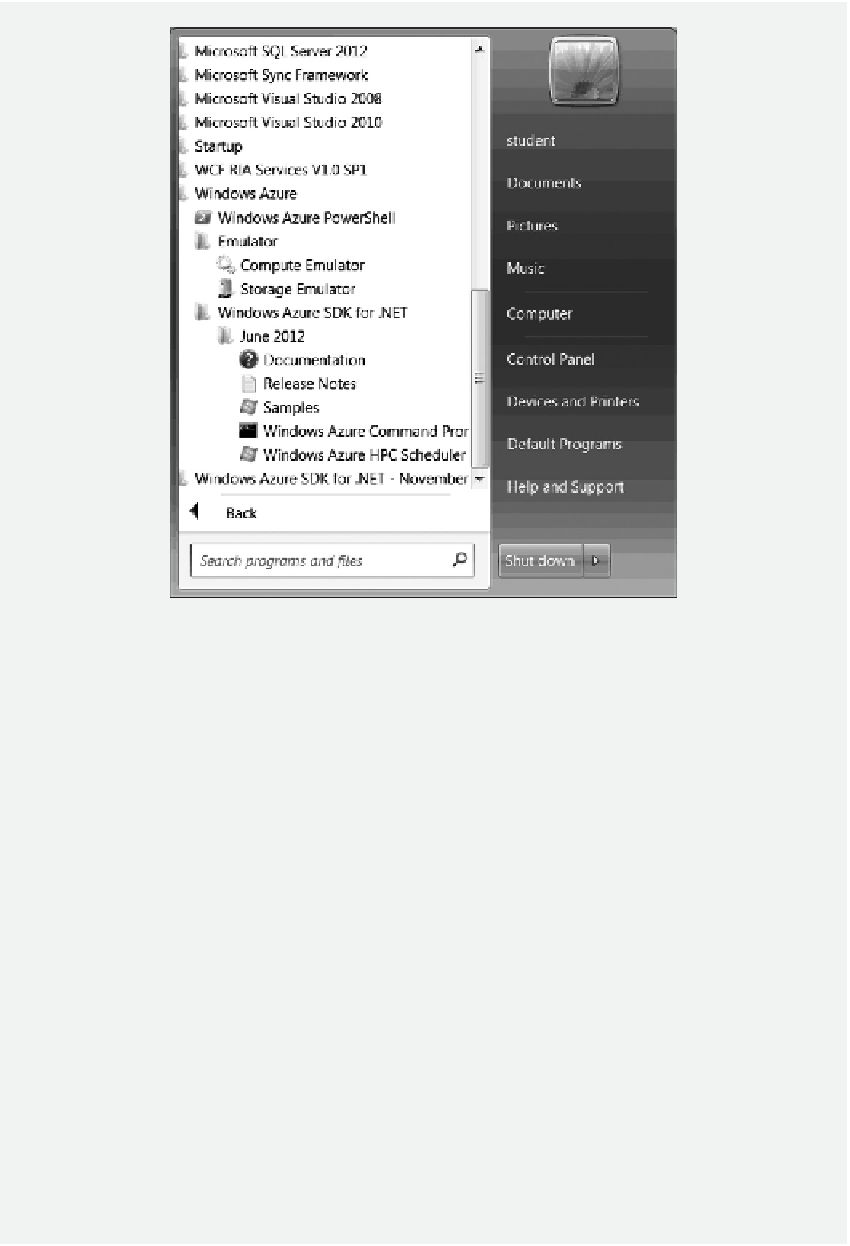
Figure 1.7
Packages installed.
5. After the installation process is completed, to test the SDK, click
Start
,
All Programs
,
and expand the
Microsoft Visual Studio 2010
node. Right click
Microsoft Visual
Studio 2010
and select
Run as administrator
. After Microsoft Visual Studio is
opened, click
File
,
New Project,
and click
Cloud
under the Visual C# node. In the
Templates pane, you should be able to see
Windows Azure Project
as shown in Figure
1.8. Click
Cancel
to exit.
6. You can now start SQL Server Management Studio (SSMS). To do so, click
Start
,
All Programs
,
SQL Server 2012
, and
SQL Server 2012 Management Studio
.
After the Connect to Server dialog is opened, in the
Server name
dropdown list,
select the server on your local server as shown in Figure 1.9. (On your computer,
the name of the SQL server will be diferent.) Select
Windows Authentication
as
the method of authentication. After the server name is selected, click the
Connect
button.
7. You should be able to log on to SSMS as shown in Figure 1.10.
8. By default, the database named master is installed for database management.
Expand the
Databases
node and double click
master
. You should be able to see
the database objects such as Tables, Views, and Programmability. In addition,
Microsoft SQL Server also includes Service Broker, Storage, Security, Users, Roles,
Schemas, and Symmetric Keys.