Biology Reference
In-Depth Information
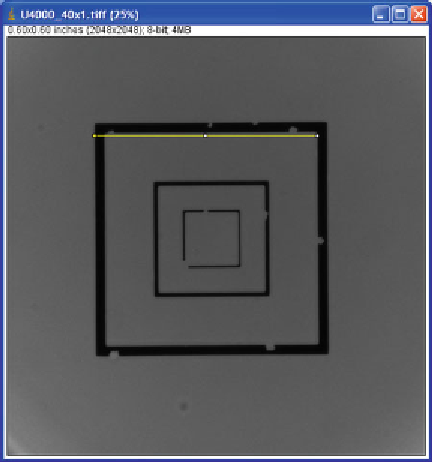
Fig. 2
Calibrating square of known length of a square side
4. Fill in the known length and units of length of the drawn line in
the Set Scale window (Menu/Analyze/Set Scale;
see
Note 2
). If
you tick “Global,” the calibration is saved and used for all sub-
sequently opened images until the calibration is changed again.
5. Check the calibration by measuring the same line (Menu/
Analyze/Measure).
1. Open your image and set right calibration (
see
Subheading
3.2
and
Note 6
).
2. For objects under study draw curves using the Tools, most
often Straight line tool (Tools/Straight line), possibly other
convenient tools (Tools/Oval or Rectangular), or trace the
boundaries of the object (Tools/Polygon selection or
Freehand selection) and measure their lengths. The length of
the line appears in the dialog box.
3. To record your measurements, use the command Measure
(Menu/Analyze/Measure) after every measurement. The
results will appear in the Results window.
4. Save the acquired results (File/Save as in the Results window).
3.3 Manual Length
Measurement
1. Open your image of scanned leaves (or other objects, whose area
you want to determine) and set right calibration (
see
Note 6
).
3.4 Measurement
of Leaf Surface Area
and Other Geometric
Characteristics
of the Leaf
2. Threshold the image (Menu/Image/Adjust/Threshold;
Ctrl + Shift + T) to specify area of leaves within the image.
Depending on the color of the background tick or uncheck
“Dark background” in the dialog box. The threshold defi nes
Search WWH ::

Custom Search