Java Reference
In-Depth Information
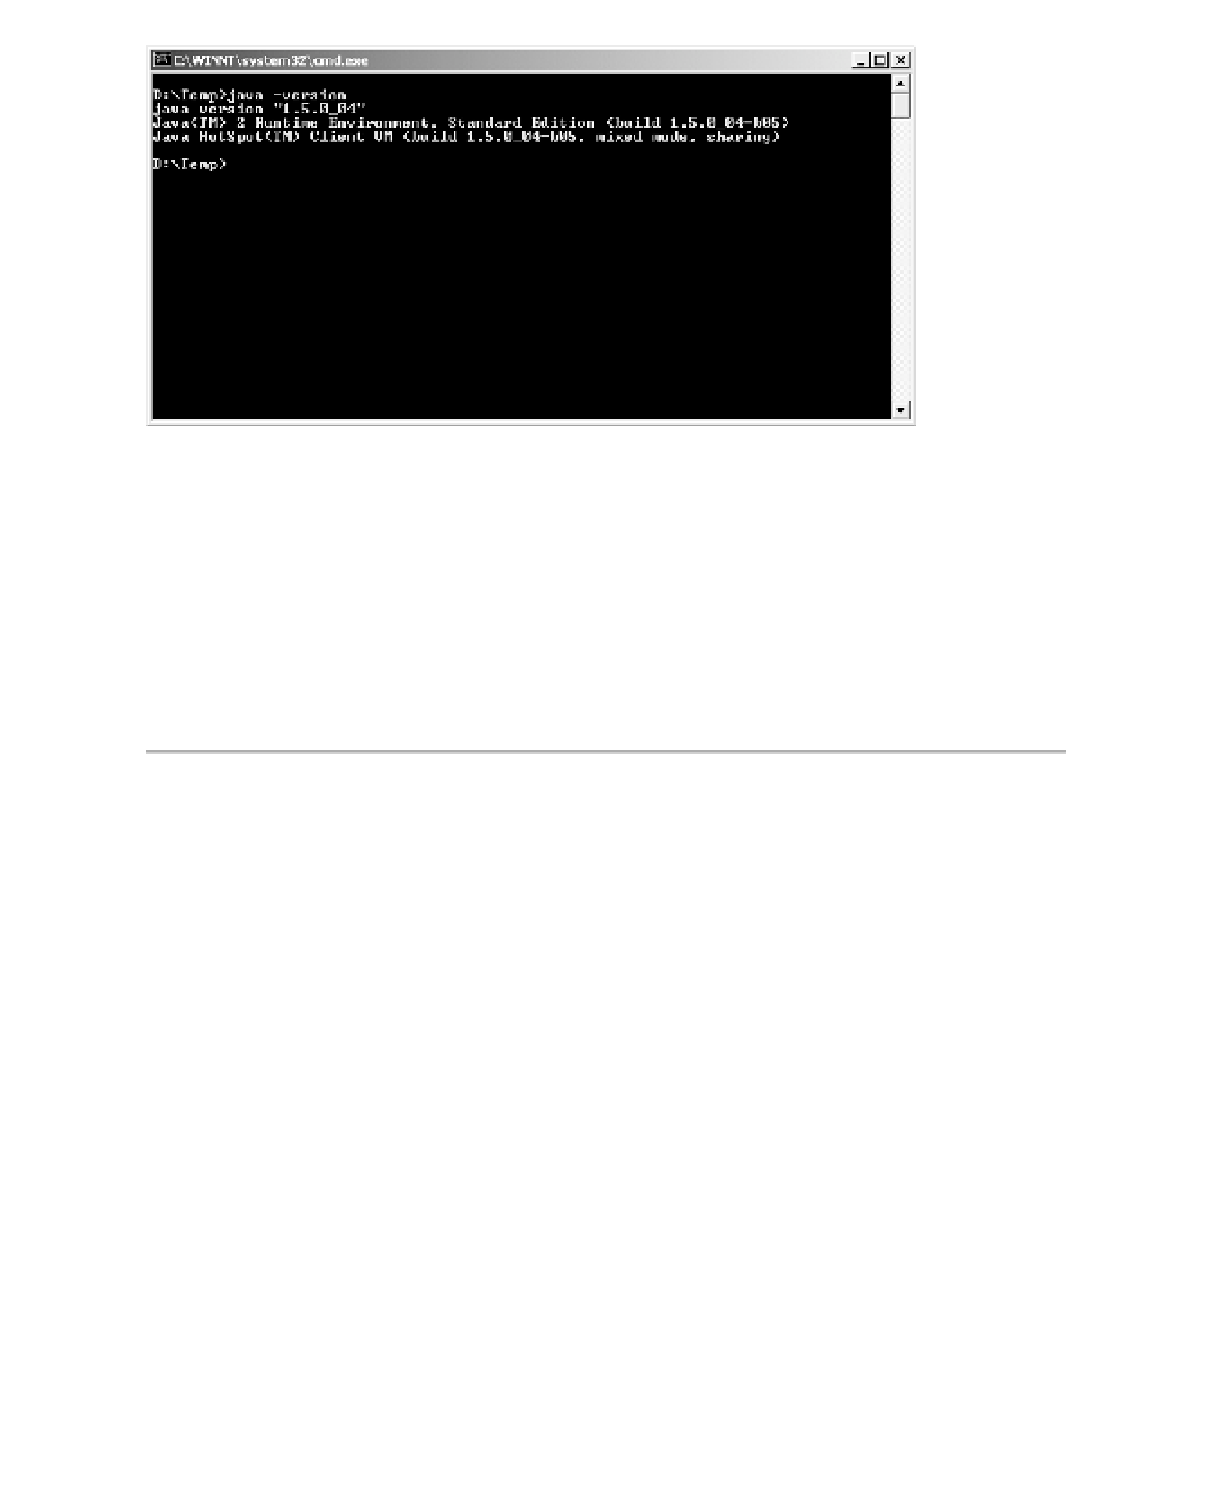
Figure 9-2.
Verify that J2SE 5 is properly installed.
Navigate to the root directory of Denny's DVDs. This is the directory where you unzipped
the project's
.java
files. For demonstration purposes, we created a directory called
dennysDVDs2.0
and chose that as the root directory.
■
Tip
Zip files can usually be decompressed with the
jar
executable, as shown in Figure 9-3. Both zip files
and JAR files use the same compression algorithms.
Next, you'll want to compile the
.java
files into a destination directory. By default, Java
will place the
.class
files in the same directory as the source files. Using the Java compiler's
-d
option allows you to separate the source and compiled files. Separating the source and com-
piled files helps you organize your project.
You need to decide where to direct your
.class
files. For simplicity, we decided to place
the compiled files in a directory below the root called
classes
. Using the command
mkdir
classes
from the command prompt will create the necessary directory. Or you can add the
directory using Windows Explorer.
Next, compile each package separately using
javac
with the
-d
option set to your destina-
tion directory. Figure 9-3 illustrates the battery of commands needed to successfully compile
the sample project. Make sure that you compile the packages in this order:
db
,
remote
,
sockets
,
and finally
gui
. This order highlights the project dependencies. Recall from Chapter 5 that
we only had the
db
package. We added the other packages as topics were introduced in
Chapters 6, 7, and 8, respectively.


