Java Reference
In-Depth Information
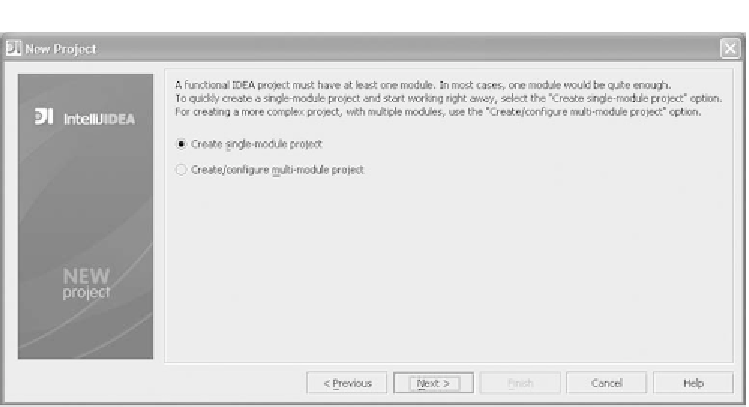
Figure 4.3 Step 3 of the New Project Wizard lets you choose between a single-module and a multi-
module project.
selecting
File | Settings
, by using the shortcut
Ctrl+Alt+S
, or by clicking the
Set-
tings
icon in the main toolbar (the wrench and machine nut). Doing so brings up
the
Settings
control panel, shown in figure 4.4. The project-specific categories for
the currently active project are shown at the top of the panel; global
IDE
settings
are listed in the lower half. We'll cover the details of customizing
IDEA
through
the settings panels in chapter 12.
The project-specific options that you can specify include defining the list of
modules involved in the project, the compiler to use for building the project (and
some of its options), the version control system configuration for the project, the
code style to which the project adheres, and a few options controlling the behav-
ior of the
IDEA
GUI
Designer.
Configuring paths
The
Paths
settings panel is the main control panel for configuring your project.
However, as you can see in figure 4.5, this control panel is sparse when no mod-
ules are present (you'll see another screenshot of this window shortly with mod-
ules in it, for comparison). This is because the modules, not the project, manage
the development artifacts like source folders, dependent libraries, and so forth.
The module list lets you add and remove modules from the project; it's discussed
in the next section.