Hardware Reference
In-Depth Information
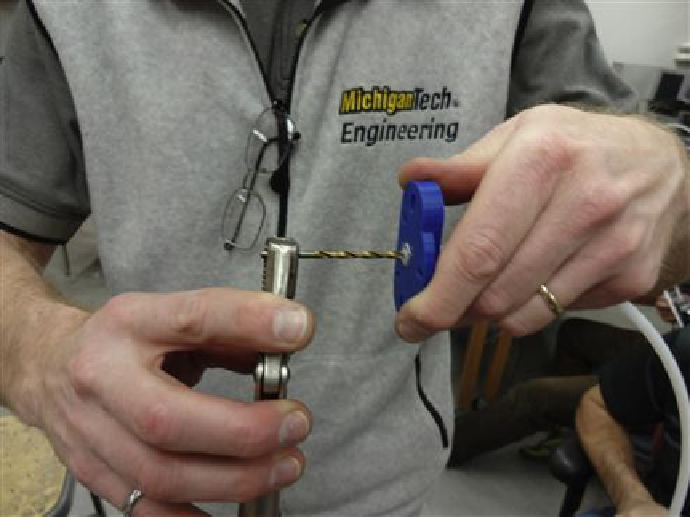
FIGURE 5.39
Preparing the Bowden sheath.
extruder drive mount (gray) and then screw the sheath down over the M4 nut in the drive
holder (blue). Trim with knife, run the drill bit, and threw it following the same procedure in
Figure 5.39
.
Then, run the filament through the Bowden cable and make sure all PTFE shards
are removed. If you skip this step, there is a risk that you will get a plugged nozzle before you
even start printing. Please note again all the blue parts in the images are in ABS to provide bet-
ter protection against warping at high temperatures. You should now have the Bowden sheath
completely constructed as seen in
Figure 5.40
.
Search WWH ::

Custom Search