Hardware Reference
In-Depth Information
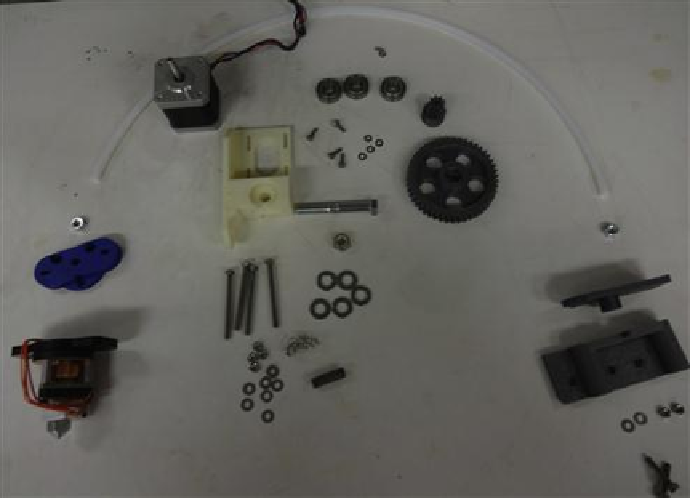
Two M4 × 20 mm screws.
One stepper motor.
Four M3 × 10 mm screws.
Four M3 washers.
One set screw.
M3 nut for small wade gear.
FIGURE 5.32
Bill of materials for the extruder.
Use a pencil sharpener to trim down both sides of the Bowden sheath as shown in
Figure
with a knife. Next, mount a bolt into both ends of the printed sheath holders and plastiform
threads at both ends of the sheath as shown in
Figure 5.34
.
Clean out extruder body holes and
mount M6s in the holes of the extruder mount and hot end mount (
Figure 5.35
)
. Screw the
long M4s screws on the extruder body and the idler carriage (
Figure 5.35
—put all the way on
and then take off—as that piece you want to be freely moving). Now, mount the set screw and
M3 nut in small gear and mount that on the stepper motor shaft and mount the motor to the
extruder body loosely with M3 screws as shown in
Figure 5.36
.
Mount the extruder body on
the extruder mount before ataching it to the frame using two M4 screws washers and nuts.
This will ensure that before you put on the gears, you will be able to mount it on the printer.
Warning
: If you do not do this step, you will need to take the whole extruder apart.
Search WWH ::

Custom Search