Graphics Programs Reference
In-Depth Information
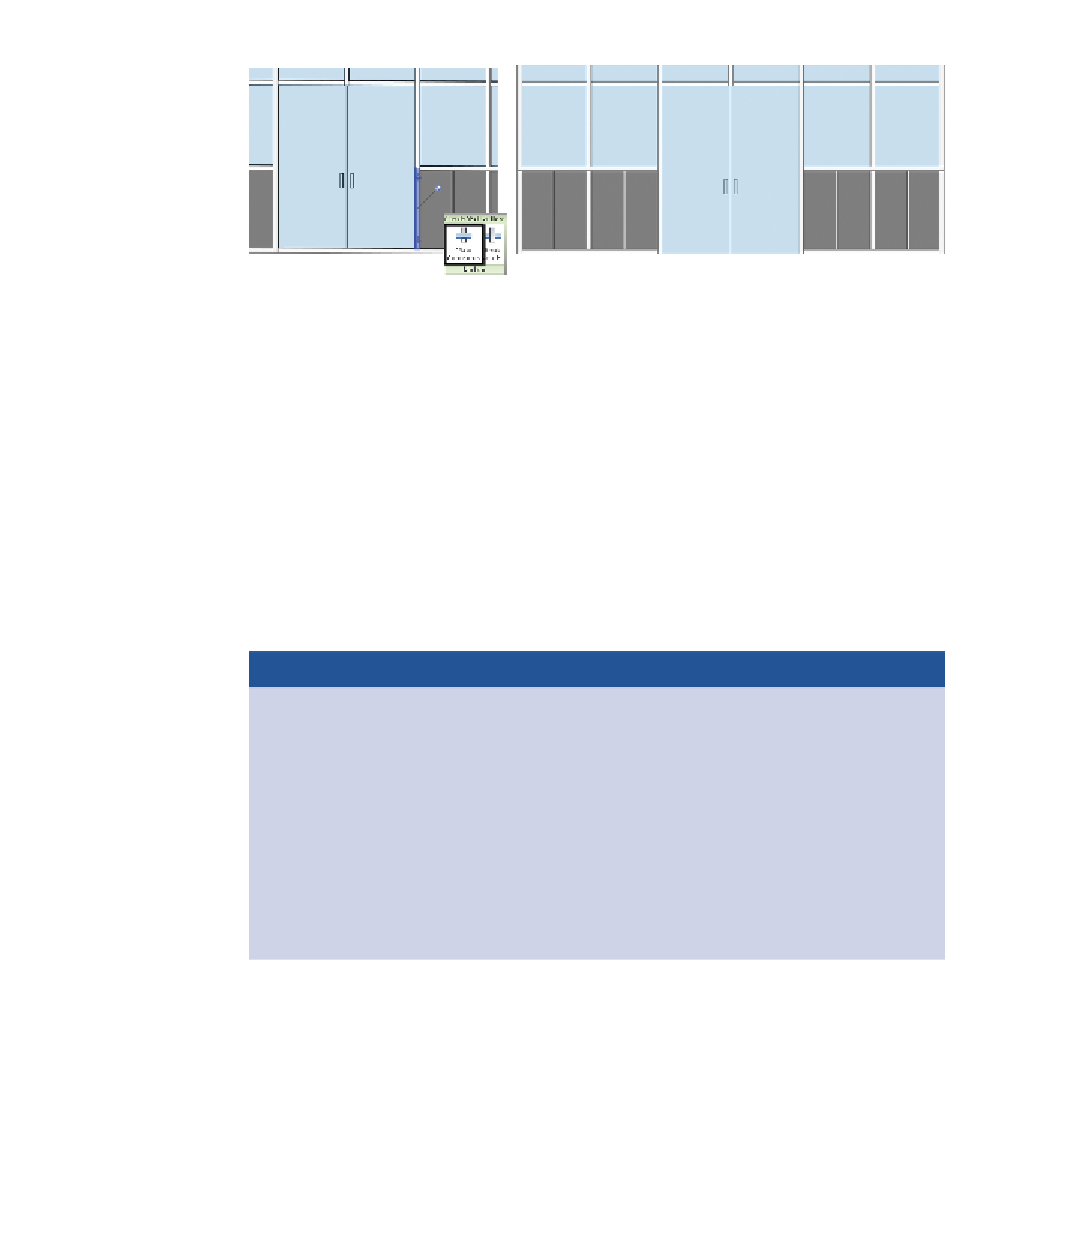
FigUre 2.32
Final curtain wall
4.
Next, remove the rectangular curtain wall mullions directly under
the Curtain Wall Dbl Glass panel. Select both pinned curtain wall
mullions (in the same selection set) and use the Unpin tool. Once
they're unpinned, you can press the Delete key to remove the curtain
mullions (second image in Figure 2.32).
5.
Notice that the curtain panel door adjusts to fill in the additional
space after the mullions are deleted. If at any point you need to revert
panel or mullion overrides, using the Pin tool will switch them back
to the type defined in the curtain wall type properties.
Now You Know
Walls in Revit Architecture are flexible enough to support the initial conceptual design pro-
cess all the way through the final iteration of a specific wall type. This flexibility is evident
through the numerous techniques we have discussed to edit, manipulate, and build various
wall configurations.
In this chapter, you learned about the different wall types and the relevant parameters. You
created walls using a variety of different tools and methods. You further modified walls by
hosting other objects such as doors, and you adjusted the profile and shape of the walls. In
this chapter you also worked through a variety of exercises specific to curtain walls covering
parameters, grids, mullions, and panels.


Search WWH ::

Custom Search