Graphics Programs Reference
In-Depth Information
6.
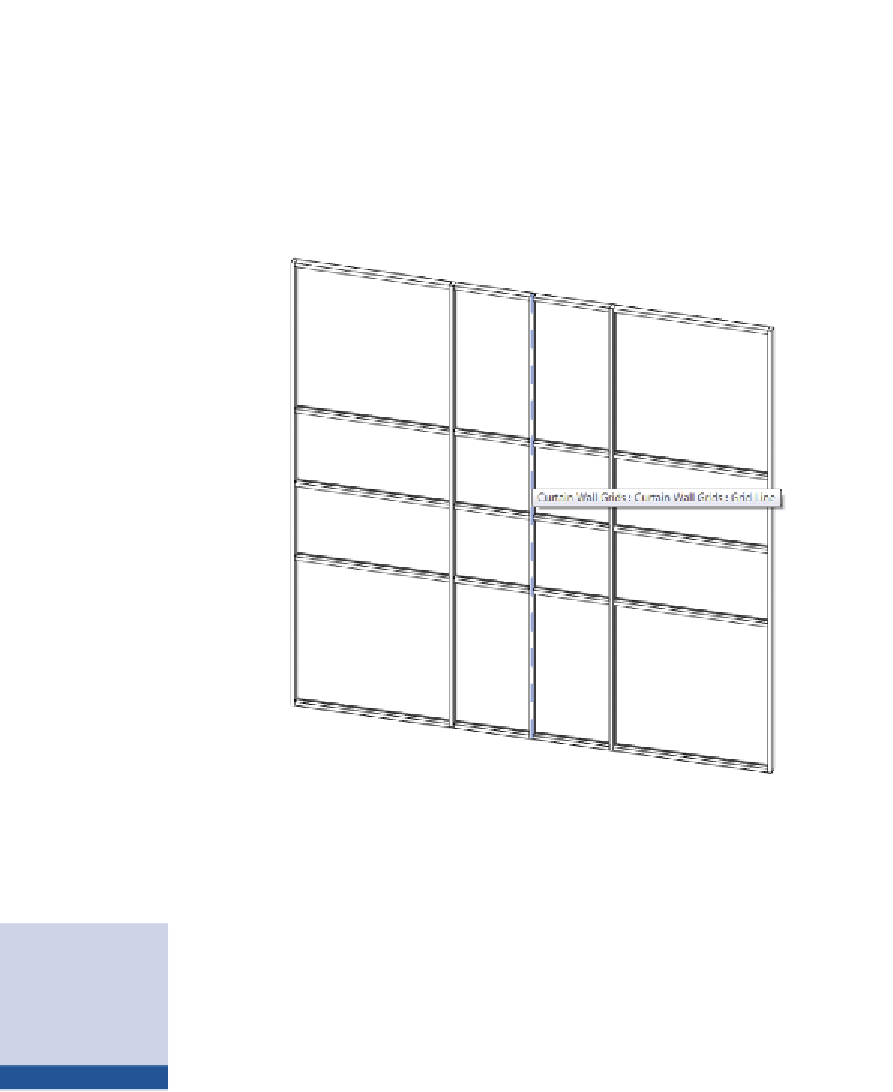
Move the cursor over one of the vertical mullions and press the Tab
key until the curtain grid line is highlighted. The Tab key is impor-
tant when working with curtain walls. Because there are several ele-
ments that potentially share a common edge (walls, panels, grids, and
mullions), it is necessary to press and release the Tab key to toggle
what will be selected (Figure 2.19).
FigUre 2.19
Mullions and selecting the grid line
7.
Once the grid line is highlighted, left-click to select it.
Once it is selected, two temporary dimensions should be visible.
8.
Left-click the temporary dimension text; you can enter exact values
to move the grid line to.
Alternatively you can
left-click+drag the
curtain grid line to
move it in a less precise
manner.
9.
Set the vertical first and last grid lines to be 2′-0″ from the curtain
wall edge. Leave the center grid line where it is. Set the horizontal
first and last grid lines to be 3′-0″ from the curtain wall edge.
▶
When complete, the curtain wall should look like the one shown in
Figure 2.20.


Search WWH ::

Custom Search