Graphics Programs Reference
In-Depth Information
8.
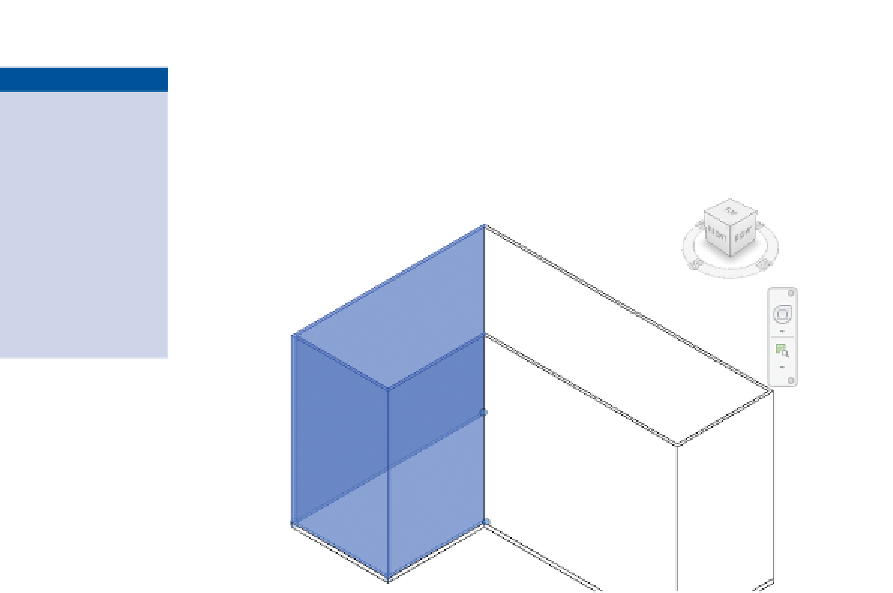
Review Figure 1.1 to see the intended image. In the 3D view, select
the wall that corresponds to the Front face of the ViewCube. Press
and hold the Ctrl key, and select the wall segments adjacent to it, as
in Figure 1.11.
▶
Changing wall seg-
ments from one wall
type to another is simi-
lar to changing a font
in Microsoft Word. You
select the sentence and
then choose a differ-
ent font from the font
selector — the words
stay the same, but the
style changes.
FIgUre 1.11
Use the Ctrl key to manually select multiple items in
your model.
9.
With the walls selected, look to the top of the Properties palette to
find the Type Selector. Note that it is reporting that the wall type of
the current selection set is Basic Wall Generic - 8″ (200 mm). Click
the Type Selector to open a list of wall types in the project. Choose
the Exterior - Brick On CMU wall type near the top of the list.
10.
Zoom into the walls for which you just swapped types. The thickness
of these three walls should update to inherit the properties of the
type you chose. Also, if you zoom in close enough, you should see a
brick pattern on the walls, which the Generic walls did not have.
This concludes Exercise 1.8. You can compare your results with the sample
file
c01-ex-01.8end.rvt
.
exercise 1.9: place Interior Walls
Open the file
c01-ex-01.9start.rvt
to begin this exercise.


Search WWH ::

Custom Search