Graphics Programs Reference
In-Depth Information
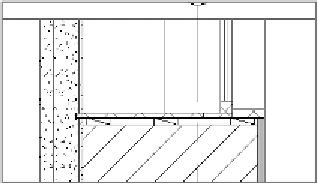
Figure 11.12
Creating a blocking
detail component
4.
Choose Application
➣
Save As
➣
Family, and name the family
06
Blocking
. Place it in a folder with the model.
5.
Click the Load Into Project button at the far right on the ribbon to
add the family to the model.
If you have more than one project open, make sure you choose
either your continued exercise file or the example file for this exer-
cise,
c11-ex11.2start.rvt
.
6.
To add the blocking detail component to your view, return to the
Exterior Window Sill, Typ. detail, and click the Detail Component
button from the Component flyout button on the Annotate tab.
7.
Insert pieces of blocking at the left, right, and center of the sill
(Figure 11.13).
The component you
insert will become the
default component;
you can see the name
06 Blocking in the Type
Selector.
Figure 11.13
Inserting and placing the blocking
8.
Create a new detail item using steps 1-3 for another detail compo-
nent representing the baseboard (do not create a diagonal line to
denote blocking), and use the dimensions 1
″
(25 mm) wide by 6
″
(150 mm) high.


Search WWH ::

Custom Search