Graphics Programs Reference
In-Depth Information
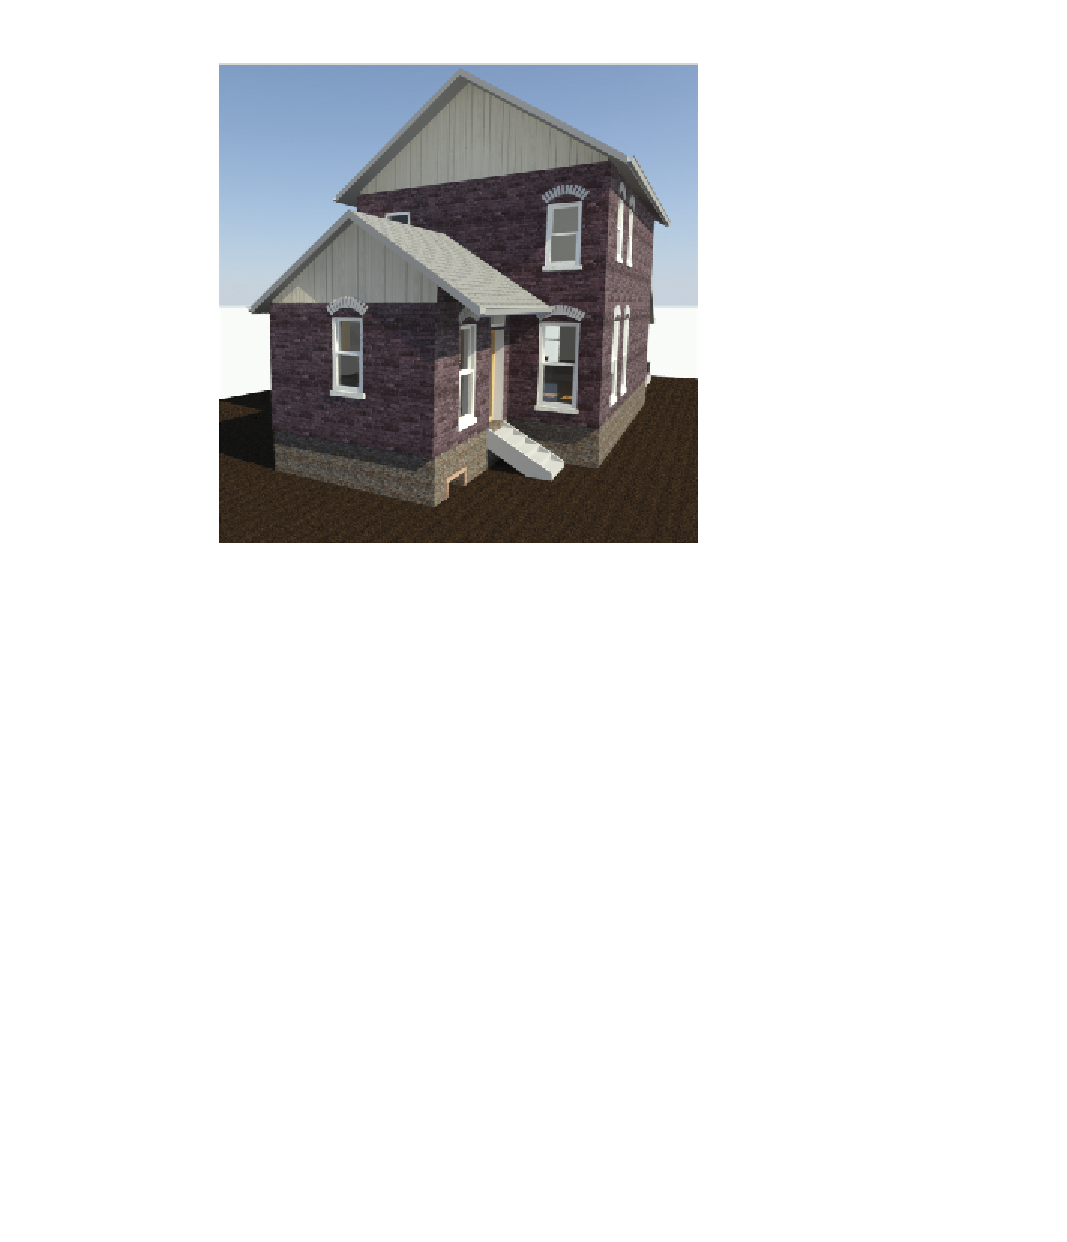
Figure 9.14
A Ray Trace rendering after 15 seconds
exercise 9.8: Cloud rendering
Autodesk offers a very reliable and fast service that will render your Revit views
in the cloud, thus allowing you to continue working while your renderings
process somewhere else.
To begin, open the file
c09-ex-09.8start.rvt
in this chapter's download.
1.
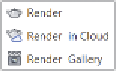
To use the cloud service, click the Render in Cloud button on the
View Tab. You will be asked to sign in using your Autodesk 360
account. Create an account if you don't have one. After logging in,
you should see a Render in Cloud dialog box with a few informational
steps for cloud rendering; click Continue.
2.
The Cloud Rendering Service provides an interface for you to select
which views you'd like to have rendered. First, expand the 3D View
drop-down; then check the boxes for Interactive Rendering and 3D
Cover Shot — or choose to render all five of the 3D views.
3.
There are other options below, but as long as you set Render Quality
to Standard and Image Size to Medium (1 Mega Pixel), then the ren-
derings do not cost any cloud credits; they are free! See Figure 9.15.


Search WWH ::

Custom Search