Graphics Programs Reference
In-Depth Information
10.
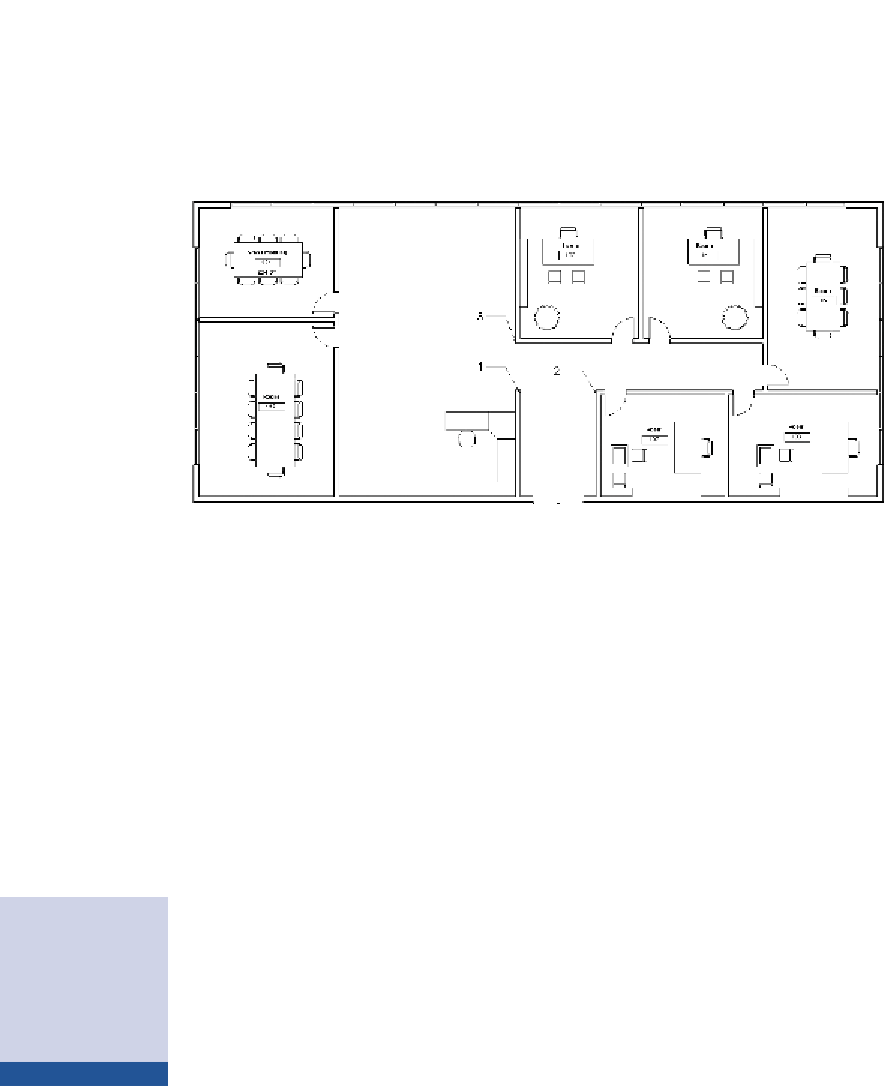
Continue to add rooms and tags to the Level 1 floor plan, as shown in
Figure 8.8. The rooms will be numbered as you place them, so place
the rooms according to the numeric sequence shown in the figure,
starting with room 102.
Figure 8.8
Adding rooms and tags
You can compare the ile in its inished state on the topic's web page.
Download the file titled
c08-ex8.1end.rvt
.
exercise 8.2: Modify a room Boundary
load the project file
c08-ex8.2start.rvt
. Make sure the Level 1 floor plan is
activated. If you completed Exercise 8.1, you can begin the following steps where
you left off.
Follow these steps to subdivide the open space in the project into three
functional spaces:
1.
Start to add a tag to the large central open space and notice that the
space will be tagged as a single room (Figure 8.9). In this exercise you
want this space to be divided into smaller functional areas. Do not
place a room object in this area.
You can turn off
room separation
lines in the Visibility/
Graphic Overrides for
a view under the Lines
categor y.
2.
Return to the Room & Area panel on the Architecture tab of the
ribbon, and select Room Separator.
▶
3.
Draw a line between the wall intersections labeled 1 and 2 in the
sample file.


Search WWH ::

Custom Search