Graphics Programs Reference
In-Depth Information
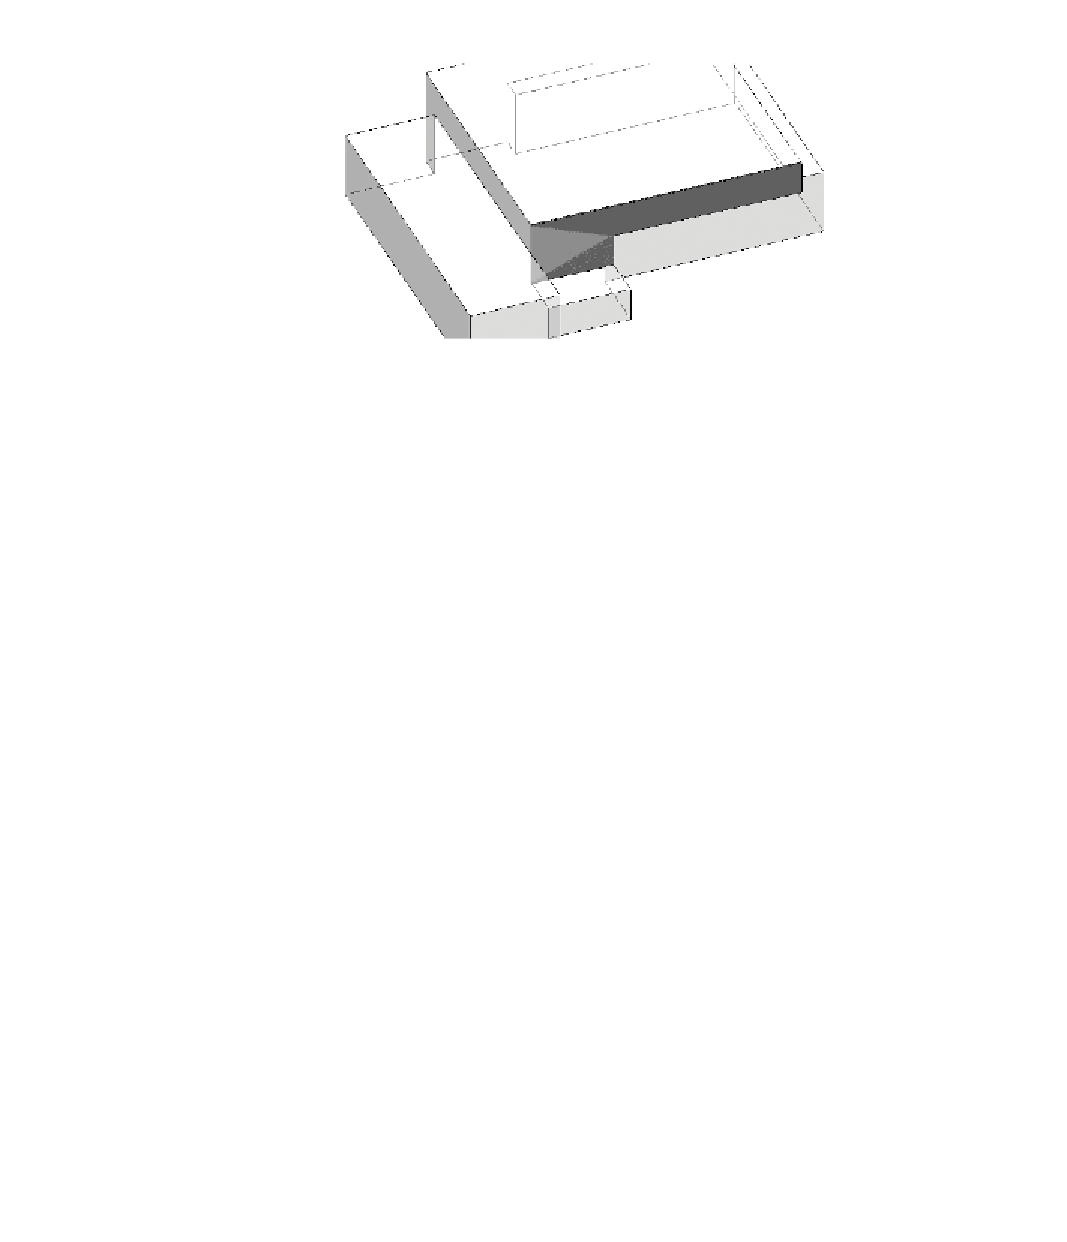
FIgure 7.10
Place the solid walls by face.
exercise 7.8: Create a Curtain System
To begin this exercise, open the file
c07-ex-07.8start.rvt
.
1.
To place the glass walls on the mass you'll use a different tool called
the Curtain System. Go to the Massing & Site tab and click the
Curtain System button.
▶
The Curtain System tool
is similar to the Curtain
Walls tool (Chapter 2),
but curtain systems are
specific to massing and
allow you to place many
curtain walls at once.
2.
You can change the spacing of the grids from the defaults. Click the
Edit Type button in the Properties palette. Click the Duplicate button,
and rename the type to
10
′
(
3.04
m)
× 5
′
(
1.524
m)
- Trapelo
. Click
OK to confirm the new name.
3.
Change the Grid 1 Spacing parameter from 10
′
-0
″
(3.04 m) to
5
′
-
0
″
(
1.524
m). Change the Grid 2 Spacing parameter from 5
′
-0
″
(1.524 m)
to
10
′
-
0
″
(
3.04
m). Click OK to confirm these changes to the Curtain
System type.
▶
Before making Type
property changes, it is
best practice to duplicate
the type and rename
the new type. This way
you don't accidentally
change other model ele-
ments that look to that
type property.
4.
Click all of the vertical faces that will become glass walls. You will
have to use the ViewCube to rotate the view in order to see the
vertical faces on the other side of the building. One word of caution—
you are allowed to click horizontal faces of the mass (like roofs), so be
careful clicking!
5.
Click the Create System button from the ribbon. Click Esc to close
the tool. Your model should look like Figure 7.11.
This concludes Exercise 7.8. You can compare your results with the sample
ile
c07-ex-07.8end.rvt
.


Search WWH ::

Custom Search