Game Development Reference
In-Depth Information
5. The
Anims Ranges
option allows you to split one big animation sequence
up into several smaller animations. If you click on the
Edit…
button, the
dialog box just seen will be displayed. Use the
Add
button to create a new
animation range, use the
Name
textbox to name the animation, and then
drag the sliders to set the
Start
and
End
frames for the animation. Use the
Delete
button to delete an animation range from the list. The
Done
button
will close the dialog and accept any changes made, while the
Cancel
button
will discard any changes made before closing the dialog.
6. The final option that affects animation export is the
Sub Anim Root
textbox.
You can enter the name of one of the bones in the skeleton and the animation
data will only be exported for that bone and its children. We'll learn more
about sub-animations later in this chapter.
7.
With all the animation-related options in the exporter now set up, just click
on the
Export!
button to output one or more ANIM files. The number of files
exported depends on how many animations were in the scene, the status of
the
multianim
checkbox, and whether the
Anims Ranges
option was used.
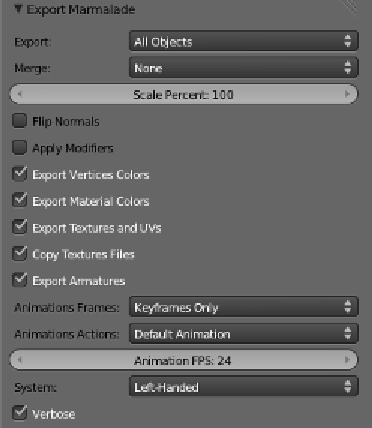
Exporting animations using the Blender
plugin
You can also export animations using the Blender plugin. The terminology used in
Blender for animations is a little unusual, as Blender calls the skeleton an
armature
,
but aside from that the approach to animation is the same.


Search WWH ::

Custom Search