Game Development Reference
In-Depth Information
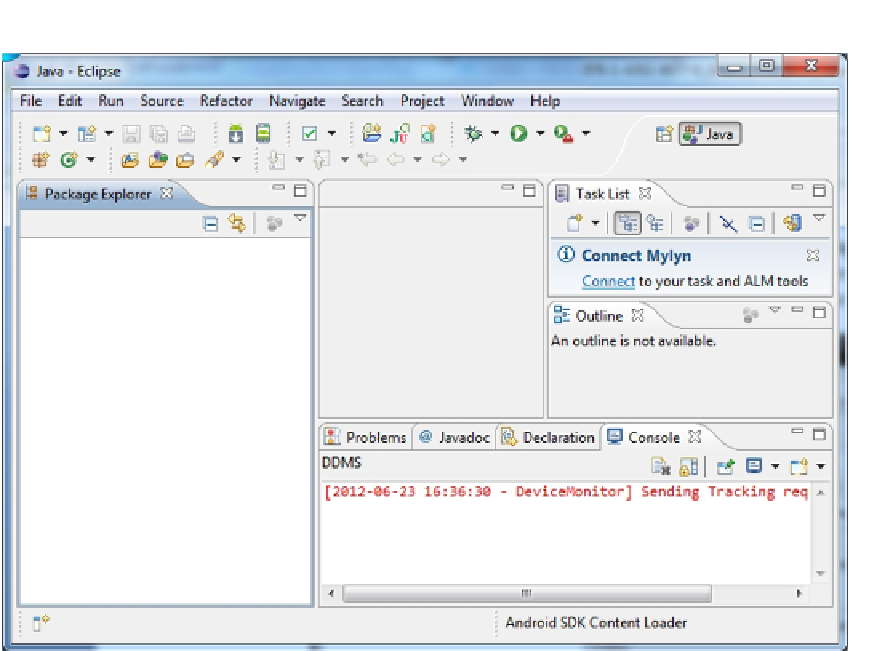
Figure 2-5.
Eclipse in action—the Java perspective
You are free to rearrange the location of any view within a perspective via drag and drop.
You can also resize views. Additionally, you can add and remove views to and from a perspective.
To add a view, go to Window ➤ Show View, and either select one from the list presented or
choose Other to get a list of all available views.
To switch to another perspective, you can go to Window ➤ Open Perspective and choose the
one you want. A faster way to switch between already open perspectives is given to you in the
top-left corner of Eclipse. There you will see which perspectives are already open and which
perspective is active. In Figure
2-5
, notice that the Java perspective is open and active. It's the
only currently open perspective. Once you open additional perspectives, they will also show up
in that part of the UI.
The toolbars shown in Figure
2-5
are also just views. Depending on the perspective you are
in at the time, the toolbars may change as well. Recall that several new buttons appeared in
the toolbar after we installed the ADT plug-in. This is a common behavior of plug-ins: they
will, in general, add new views and perspectives. In the case of the ADT plug-in, we can now
also access a perspective called DDMS (Dalvik Debugging Monitor Server, which is specific to
debugging and profiling Android applications, as covered later in the chapter) in addition to the
standard Java Debug perspective. The ADT plug-in also adds several new views, including the
LogCat view, which displays the live logging information from any attached device or emulator.
Once you get comfortable with the perspective and view concepts, Eclipse is a lot less
intimidating. In the following subsections, we will explore some of the perspectives and views