Game Development Reference
In-Depth Information
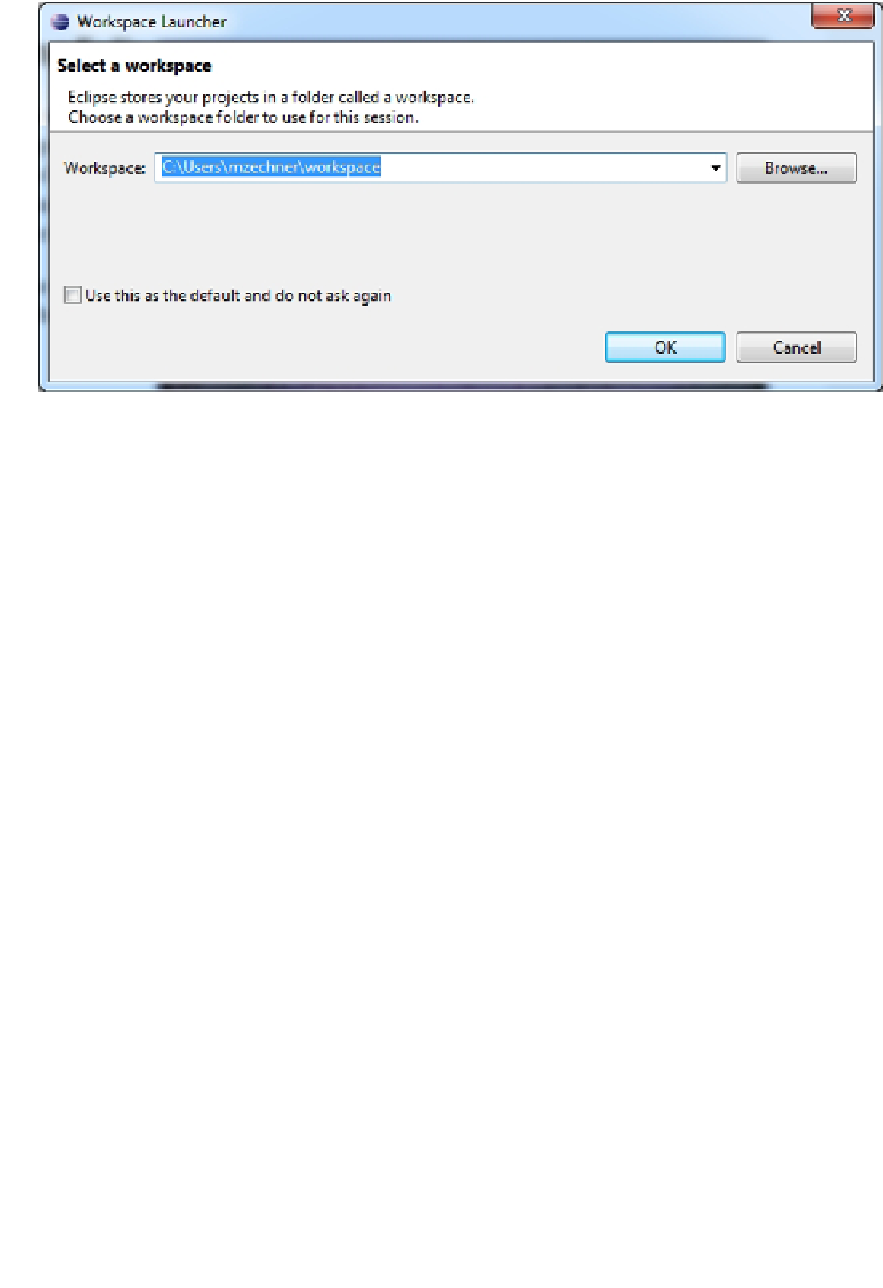
Figure 2-2.
Choosing a workspace
A workspace is Eclipse's notion of a folder containing a set of projects. Whether you use a
single workspace for all your projects or multiple workspaces that group just a few projects
is completely up to you. The sample projects that accompany this topic are all organized in a
single workspace, which you could specify in this dialog. For now, we'll simply create an empty
workspace somewhere.
Eclipse will then greet you with a welcome screen, which you can safely ignore and close. This
will leave you with the default Eclipse Java perspective. You'll get to know Eclipse a little better
in a later section. For now, having it running is sufficient.
Installing the ADT Eclipse Plug-In
The last piece in our setup puzzle is installing the ADT Eclipse plug-in. Eclipse is based on a
plug-in architecture used to extend its capabilities by third-party plug-ins. The ADT plug-in
marries the tools found in the Android SDK with the powers of Eclipse. With this combination,
we can completely forget about invoking all the command-line Android SDK tools; the ADT
plug-in integrates them transparently into our Eclipse workflow.
Installing plug-ins for Eclipse can be done either manually, by dropping the contents of a
plug-in ZIP file into the plug-ins folder of Eclipse, or via the Eclipse plug-in manager integrated
with Eclipse. Here we'll choose the second route:
1.
Go to Help ➤ Install New Software, which opens the installation dialog.
In this dialog, you can choose the source from which to install a plug-in.
First, you have to add the plug-in repository from the ADT plug-in that
is fetched. Click the Add button. You will be presented with the dialog
shown in Figure
2-3
.