Graphics Reference
In-Depth Information
As I mentioned, a Smart Sharpen effect was added to the image. This helps to improve the sharpness on
the focus area. For this kind of sharpening, it is important to use a radius of 0.5 pixels, as this will allow you
to get crisp results without an unwanted halo effect around the areas of contrast.
Next, you will move on to adding some bloom. This is done by creating a duplicate of the layer, adjusting
the colors, blurring the layer, setting it to Screen mode, and then adjusting the opacity to fine-tune the
strength of the effect. In this case, using Smart Sharpen on the main layer is key to keeping the details vis-
ible. There are two common ways to adjust the coloring of the duplicated layer: Levels and Exposure (best
accessed by choosing Layer
⇒
New Adjustment Layer). By adjusting the levels and pulling up the black
input, the focus will shift to the brighter areas and give a good, even bloom effect. Sometimes this will cause
the saturation to increase too much, so you may need to decrease the saturation before continuing. For a
more aggressive and edgy look, adjusting the Exposure works well but is a bit more complex. There is a fine
balance of adjusting the Exposure slider to the right, the Offset slider to the left, and the Gamma Correction
slider to the right. As you make the corrections to the layer, remember that the point here is to keep the areas
where you want the bloom to appear and push the rest to dark colors (or black).
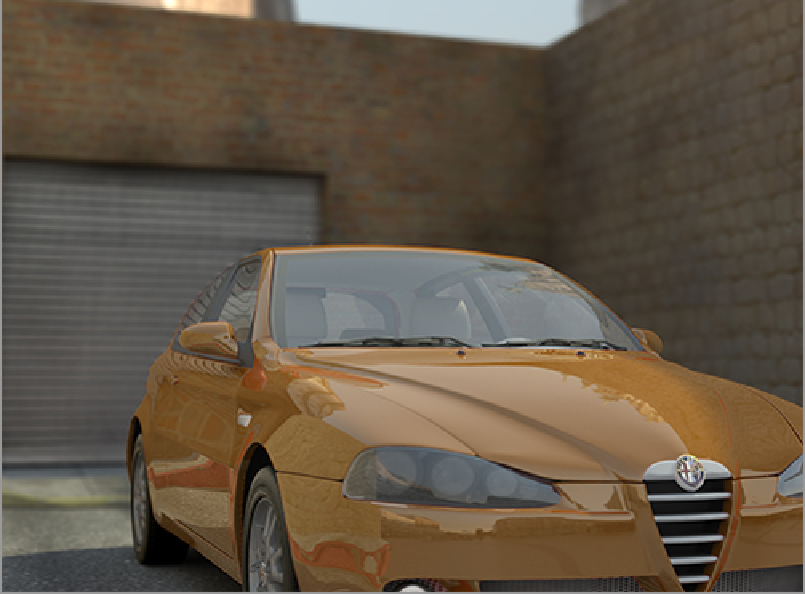
Figure 12-35
uses the Exposure method with an 8-pixel Gaussian blur and the layer opacity set to 40%
(and in Screen mode). You can adjust this as you see fit to get the right finished look. You may also wish to
desaturate or even tint this layer to achieve some interesting effects.
Figure 12-35:
With bloom added, the image starts to take on more character.