Graphics Reference
In-Depth Information
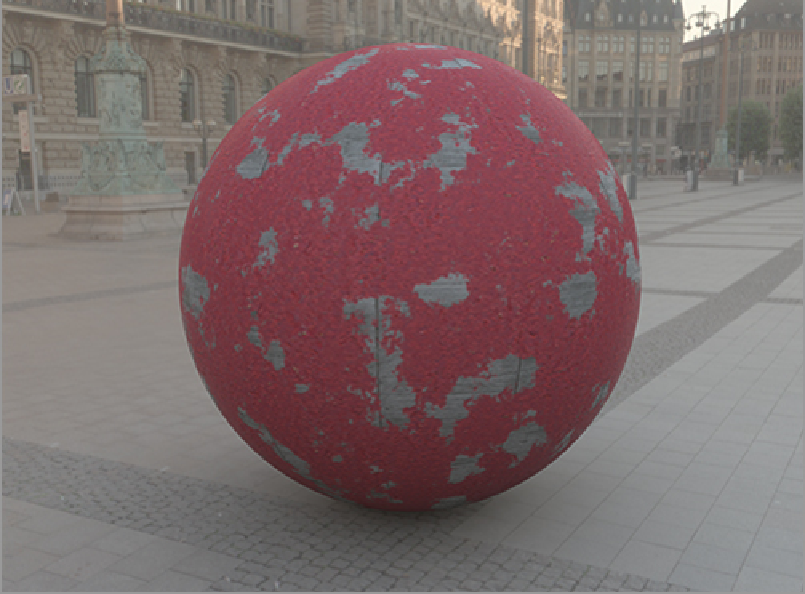
The paint and the concrete appear to be on the same level, with no real height difference between the
paint and the concrete.
9.
Next, add an additional layer of bump map to create the missing depth. This can be done in several
ways. The simplest way is to increase the bump depth on the RedCurb01 material layer. Setting the
value to 5 mm will create a difference between the two layers. However, this approach can be prob-
lematic because you have little control over the actual edge created by the difference between the two
layers of bump. A second approach is to create an instance of the Multi-Fractal texture. Drag this tex-
ture above the two groups and set it to Bump. To make sure that the other bump maps still exist, set the
blend mode of this layer to Add. Your material will look like
Figure 12-9
, with subtle edge highlights
and shadows at the edges between the two materials.
In many cases, this type of setup will suffice but at other times, some additional depth is needed. The
problem with simple bump maps is that they do not offer anything in the way of edge contour, so when
surface disturbances fall along an edge, the illusion of depth is lost. In this case, the use of a displace-
ment map will be very helpful.
10.
Change the instance from Bump to Displacement to get real depth on the surface. At first, this will
probably add massive depth relative to the surface. This is due to the setting for Displacement Distance.
To fix this, change the value on both materials (the red and the concrete) to 5 mm. This will really
increase the quality of the depth beyond the simple appearance created by the bump map, as shown in
Figure 12-9:
A layer of added bump makes the two materials begin to separate.