Graphics Reference
In-Depth Information
5.
Right-click the Crackle texture and choose Change Type. From the drop-down list, you will be able
to choose any other type of texture to replace the current one.
When you choose a new texture, the size will be kept but the Bias and Gain adjustments will not. By
quickly adjusting those settings, you will be able to quickly audition textures. As a general rule, Gain
set to 99% will work with most textures, but Bias will vary from texture to texture. Remember that
this texture will function as an alpha channel, so white areas will show the red material, and black will
show the underlying concrete. For this purpose, Multi-Fractal can work quite nicely. The beauty of this
texture is that it can use multiple levels of fractal mathematics to provide more complexity to the pat-
tern (thus avoiding the geometric look that was found in the Crackle texture).
6.
Choose Multi-Fractal (from the Enhance: modo Textures
⇒
Noise heading). The texture can look a
little simple at first.
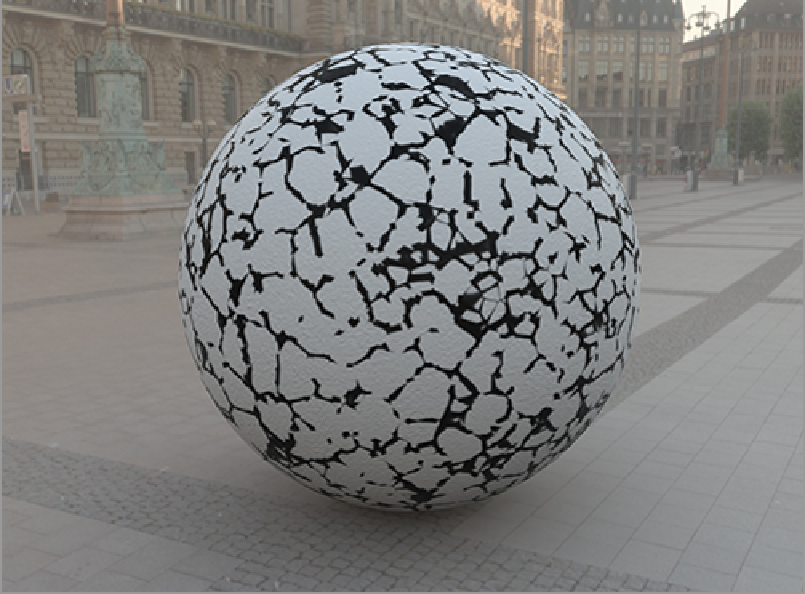
7.
Increase the Frequency and Octaves to add roughness to the areas of contrast. Set the Octaves to 4.0,
the Frequency to 3.5, and the Bias to 70%. The texture will look like the image in
Figure 12-7
.
This
will work for creating chips in the paint.
8.
Next, set the layer from Diffuse Color to Group Mask (located in the Shader Control heading when
right-clicking under the Effect column). This effectively masks the painted group and allows the con-
crete to show through in the previously black areas.
If you look closely at the image shown in
Figure 12-8
, you will notice that there is one real issue with
this image, and that is the lack of physical depth.
Figure 12-7:
The slightly modified Multi-Fractal texture