Graphics Reference
In-Depth Information
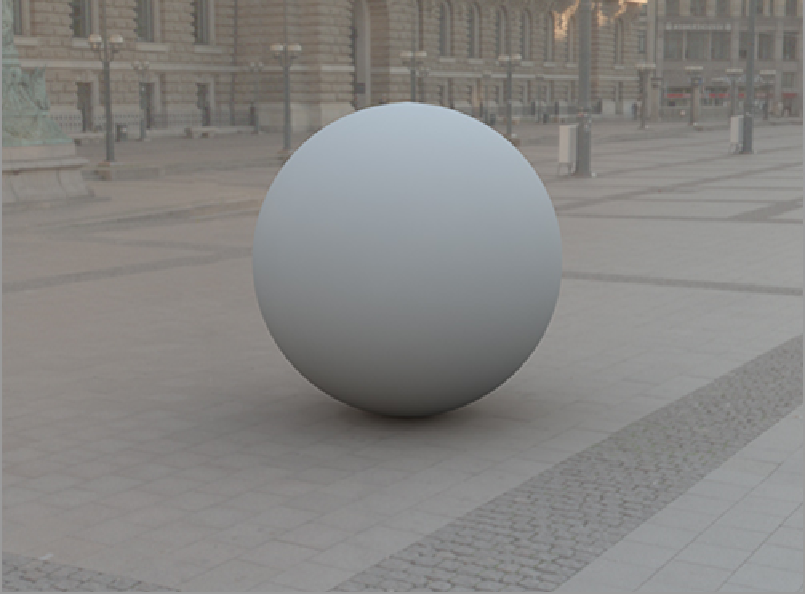
A scene set up like this is a good way to design and test textures. Now, let's add texture:
1.
Place a new texture on the ball and then assign the Concrete 02 material from the Concrete section
of the Stone material presets. This will act as a good basis for layering textures. Before adding to this
material, it is important to take a look at how Concrete 02 was constructed. This material has a base
material, an image map set to Diffuse Color, and two instances of the diffuse image set to the Diffuse
Amount and the Bump channels.
2.
Select the Diffuse Amount image. You will notice purple-toned circles to the left of the properties.
The exceptions are Enable, Low Value, and High Value. In these cases, the property has been unlinked
from the parent value (the one that the instance was made from). Any property can have the link broken
by clicking twice on the purple circle (it will appear gray). In this case, the Low Value is the only one
that has been changed to decrease the amount of dark areas created by the image. Selecting the Bump
channel will show that it has the same properties uncoupled. In most cases, this will not make a differ-
ence, but as a matter of practice, you will rebuild the material.
3.
Delete the two instance layers (Diffuse Amount and Bump) and make two new ones by right-clicking
the original (Diffuse Color) layer and choosing Duplicate. Make sure to duplicate the original texture
layer (the nonitalicized layer) each time for the best results.
4.
Set one of the instanced Diffuse Color layers to Diffuse Amount and the second to Bump.
5.
Go to the Diffuse Amount instance and change the Low Value back to 25% (found under the Texture
Layers in the Properties menu). With this done, the material is built cleanly, and any changes made to
the Diffuse Color layer will adjust the instances (with the exception of the Low Value on the Diffuse
Amount). Your base texture will look like
Figure 12-2
.