Graphics Reference
In-Depth Information
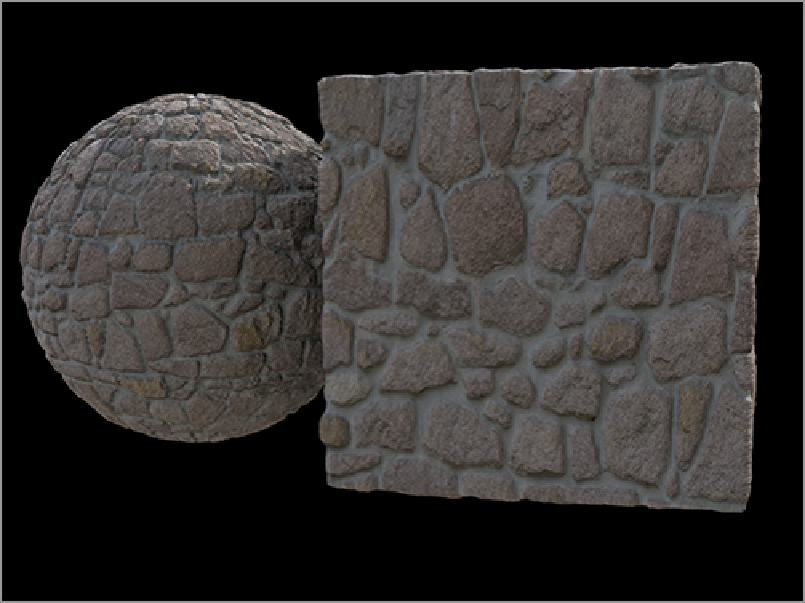
The setup and adjustment of a material like this may seem a bit extensive, but there is a very bright side to
this arduous process. The images that create the textures in this material can be swapped out for another set
of images. Then, with a small amount of adjustment, an entirely new material can be created, complete with
aligned bump and displacement layers, reflective settings, and basic material settings.
Figure 11-20
shows
a new surface created entirely by replacing the images that make up the texture layers. The images can be
replaced by changing the Image menu in the properties for each texture layer. Changing each layer manually
can be a real chore if several layers are tied to each image in the texture set. The images can be replaced
globally (in every duplicate or instance in the scene) by going to the Images tab, right-clicking each image,
and choosing Replace As Still.
Figure 11-19:
A manual version of the Displacement As Bump setting can produce excellent quality, lower
polygon counts, and reduced render time.
Figure 11-20:
Swapping out three image files results in a completely new texture with little to no adjust-
ment to material properties.