Graphics Reference
In-Depth Information
Start by identifying the issues with the texture. The scale is far too large, the details are too round and
lumpy, and there is a lack of clustering, which is characteristic of stucco walls. To create a more realistic
material, you will need to do the following:
1.
Adjust the scale of the texture by changing the Size to 100 mm on all axes.
2.
In the Stucco texture layer's properties, increase the Octaves to 6.0 (this will increase the permuta-
tions of the pattern).
3.
Increase the Frequency to 4.0 to increase the random jitter of the pattern.
4.
Change the Increment to 0.65 (this decreases the falloff of intensity between Octaves).
5.
Change the Upper Clip to 35%. This will flatten off the taller bumps.
6.
Change the Bias to 75% to cause some of the bumps to clump together more.
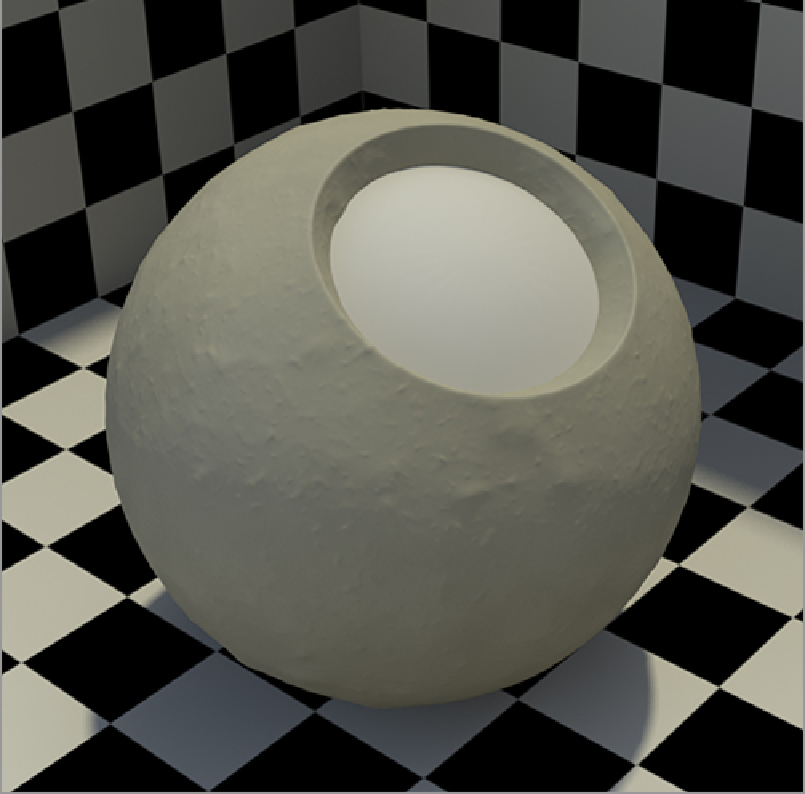
After making these adjustments, the Stucco texture will begin to live up to its name. The material should
now look like the image shown in
Figure 11-9
. Making slight adjustments to the Output Controls (Lower
and Upper Clips, Bias, and Gain) will allow you to further customize the appearance of the stucco material.