Graphics Reference
In-Depth Information
3.
Add the diffuse color image to the new material. This image should map perfectly by using the de-
fault UV map.
4.
Select the two boundary edges that run parallel to the photographed wood planks.
5.
Run the Loop Slice tool (Alt/Option+C).
6.
Set the Count to 23 and click the Uniform button. This creates 24 individual polygons for the 24
planks in the photograph.
7.
Select all of the polygons and activate the Bevel tool (B).
8.
Disable the Group Polygons option and bevel inward slightly (to create the gap between the planks).
9.
Press the [ key to invert the selection and cut out the selected polygons.
10.
Once again, select the existing polygons and activate the Thicken tool (from the Basic tab). Thicken
the polygon slightly to add some depth.
This photo-based model can be adapted quickly to suit the needs of your scene. Individual planks can be
selected and moved without altering the attached material. Planks can be duplicated and reused anywhere in
the scene. Because the photo is attached by using the UV map, the location of the polygons in 3D space is
irrelevant. Adding details, such as slightly rounded edges, can also be done without distorting the texture.
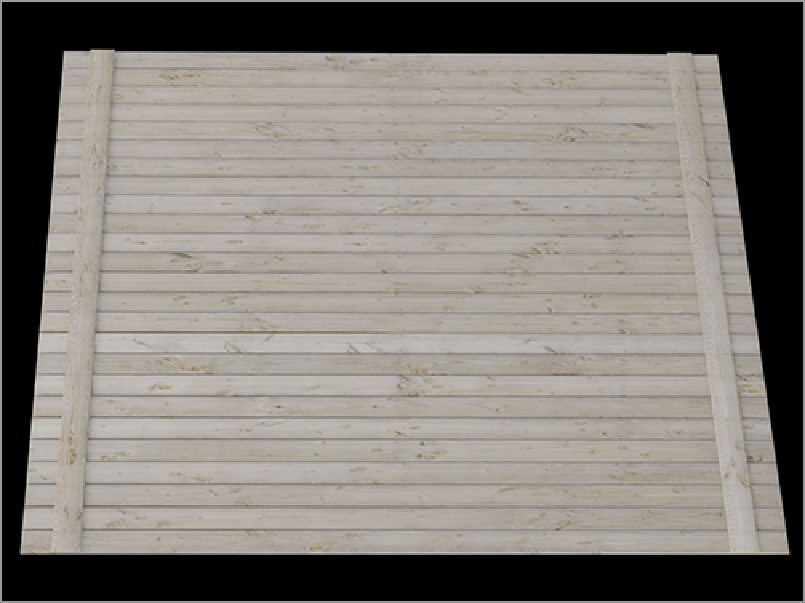
Figure 11-7
shows a wood deck created from this type of photo-referenced geometry. In this image, the dif-
fuse, specular, and bump map images are applied to the material. In addition, the specular map has been
instanced and set to Reflection Fresnel.
Figure 11-7:
In addition to being used as textures, photographs can be used to quickly derive geometry.