Graphics Reference
In-Depth Information
For this example, I wanted to make a group of tiles that is a square of 10 tiles in each direction. Creating
the grid of exactly 10 tiles leaves odd gaps at the edges, so the best solution is to create a grid with 11 tiles
and then use midpoints on the borders to make the tiled texture pattern. Use the Array tool (in the Duplicate
tab) to create the grid. Make sure that the tiles overlap slightly in both directions. Center the group of tiles
in the z- and x-axes (Basic tab
⇒
Center Selected
⇒
ZX). The tile group will look like
Figure 10-24
.
Once
again, this shows the tiles with a texture that will be created in Chapter 11.
With the grid of tiles created, you can easily save a preset, import it to the scene, and duplicate it as
needed to create the finished roof. This solution will, however, take a lot of time and careful slicing to get
the edges of the roof to align properly. Another option is to make a displacement image and apply it to any
surface. In addition, material information can be baked to files that align with the displacement. You will
need a piece of geometry in another layer with its own texture to create the images. To set up the baking
process, follow these steps:
1.
Select a 10×10 section of tiles.
2.
Turn on the Dimensions tool (View
⇒
Dimensions tool).
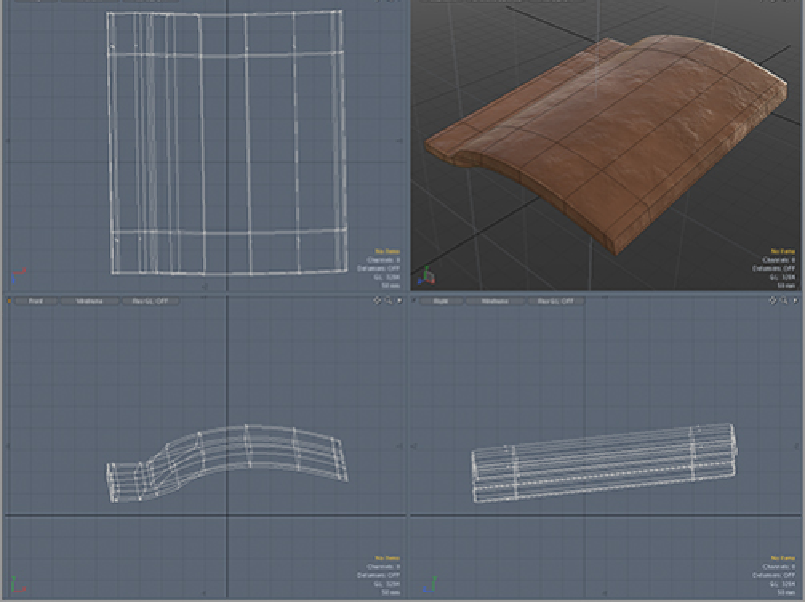
Figure 10-24:
The single mesh tiled in a grid of 11x11 with the tile texture