Graphics Reference
In-Depth Information
5.
Click the existing edge (to which the new edge needs to be aligned).
6.
Scale the edge down to 0% in the direction that the edge needs to be aligned (the y-axis in this case).
Because the Negative Scale option is off and cannot go past 0%, drag the handle down quickly to align
the edge.
Attaching the Basic Pieces
Select the interior polygons on the smaller piece and delete them. These polygons will not be needed going
forward. Snapping can be very helpful to align the edges. To use snapping for this procedure, follow these
steps:
1.
Select the edges on the side that will be moved to attach the pieces.
2.
Enable Snapping and in the Snapping Options menu, turn on Geometry.
3.
Set the Geometry Snap Mode to Auto.
4.
When moving in a perspective viewport, this will snap to only actual geometry. However, when
moving in an orthographic view, the snap works in two dimensions so geometry can be snapped to
alignment without regard to depth.
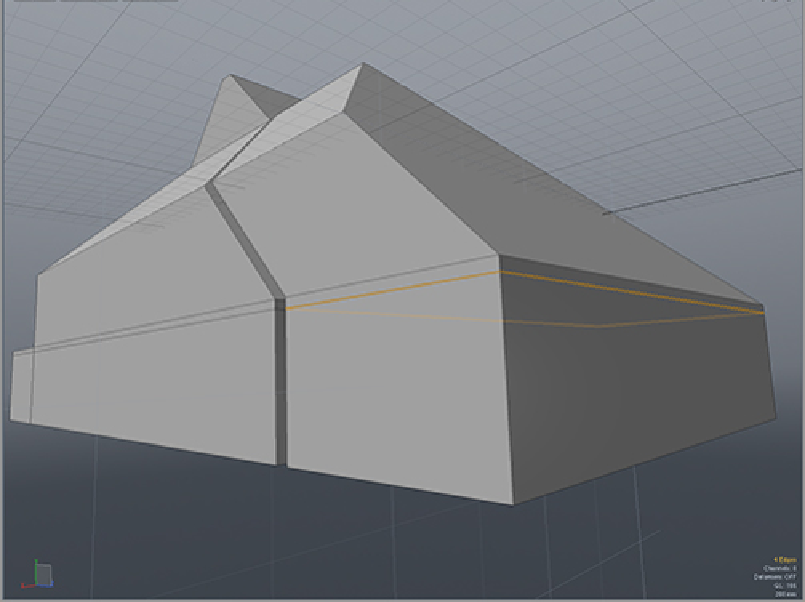
This method can be used to snap not only the edges that directly connect to the large model but also to
areas that are not yet attached, as shown in
Figure 10-9
.
Figure 10-9:
The edge shown here is aligned to the edges on the other side of the model.