Graphics Reference
In-Depth Information
Start by placing all three of the textures (diffuse, bump, and specular) into the wood floor material. Place
these images into the empty group that was created after making the previous floor material. You will need
to create a new material layer. By default, all of the images will import as diffuse layers, so the diffuse map
will be correct but the bump and specular layers will need to be adjusted. Change the texture with the
b
in
the filename to bump. If the bump is not very apparent, increase the Bump Amplitude in the Material layer
(I used 15 mm for this surface). In the case of this floor, the surface should have a fairly even sheen, so the
specular (and reflective) map will not be used to give variation to the surface. Instead, this image will be
used as a diffuse amount layer to increase the depth of the colors. Depending on the lighting in the scene
(in the case of lower natural or artificial lighting), the low value may need to be increased for this texture to
keep the floor from being too dark. Some reflective amount will also be appropriate for this type of material.
Set the material Specular Amount and Fresnel to 4% and 15%, respectively. Also enable Match Specular
and Blurry Reflection so the images look like
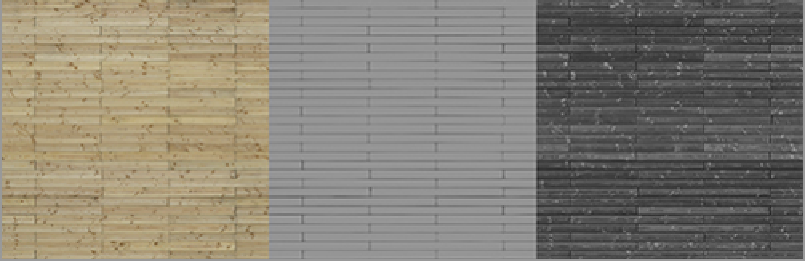
Figure 9-27
.
Figure 9-27:
The image-based floor without any modification