Graphics Reference
In-Depth Information
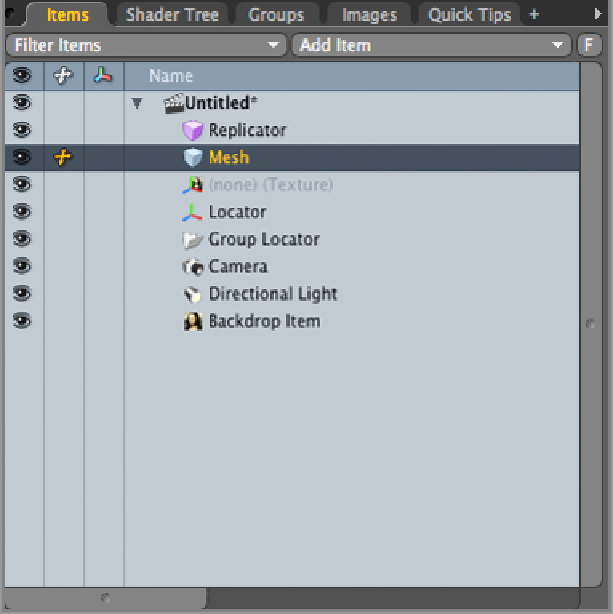
With the exception of mesh items, each of these elements make up individual items. Mesh items differ
in that they act as containers for models. You can create as many models inside of an individual mesh item
as you like. The simple analogy is a Photoshop layer. You can add as many pixels, shapes, and colors as
you would like into a Photoshop layer, but there comes a point where it is easier to add multiple layers and
flatten them (if needed) after the composition is complete.
When you create new geometry, it will appear in the currently selected mesh item. You can copy or cut
geometry from one mesh item and paste it into another at any time. As you create models, you may find it
easier to temporarily move sections of polygons into new mesh items to keep things separate and then place
them back in one layer when the edits are made. Additionally, it becomes important to spread your models
across multiple layers in order to group and organize them more effectively.
Exploring the Work Plane
One of the huge advantages to modeling in modo is the Work Plane. This simple but highly effective tool
will help you to efficiently and accurately create geometry, keep your objects aligned in space, and even
model easily on strangely angled surfaces. Initially, this plane is fixed, but the user can edit it to allow for
numerous working options. In this first look, you will start with the basics and look at more-detailed options
when they are needed in future projects.

