Graphics Reference
In-Depth Information
Instead of creating individual materials for each section of carpeting, you can add selection sets and
then apply a simple change of color to each section. Start by selecting the polygons in the master suite.
Then choose Select
⇒
Assign Selection Set. In the pop-up window, give the selection set a name (such as
Master_Carpet
). Select the Office and Sunroom and assign each to their own selection set. These selection
sets can be used in conjunction with Groups in the Shader Tree to override any material settings and will be
used in this instance to easily change the carpet colors while making the option to alter the materials in the
future very simple. To create a group based on a selection set and assign a new color, follow these steps:
1.
In the Shader Tree, choose Group from the Add Layer menu.
2.
In the Group Properties tab, change the Polygon Tag Type to Selection Set.
3.
Change the Polygon Tag to Master_Carpet (or whatever name you gave that area of the floor). You
will see that the group has changed from the generic group name to the name of your selection set.
4.
Add a Constant from the Processing section of the Add Layer menu.
5.
Change the Constant Value to a color that you want to use in the selected area.
6.
Repeat these steps for the other areas of the house.
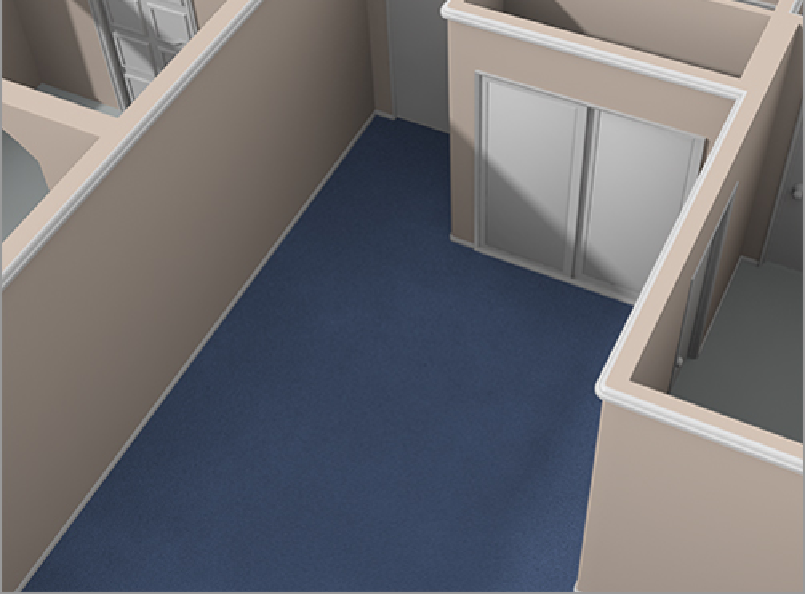
Figure 9-19
shows the new carpet colors.
Figure 9-19:
The carpeted sections now have different colors but still share common bump, specular/re-
flective, and diffuse amount settings.