Graphics Reference
In-Depth Information
that runs on top and bottom. As with the other frames, scale the frame out and copy the flipped geometry
before beveling the frame itself. Instead of using a profile, make a few bevels to get the right shape:
1.
Make a simple bevel with the Shift setting (about 30 mm).
2.
Make the second bevel by using the Inset setting.
3.
The third bevel will be a negative Shift to create the rail area.
4.
Inset once again and leave a very thin loop of polygons in the middle.
5.
One last bevel with a small Shift (about 5 mm) will complete the frame. The finished frame is shown
in
Figure 8-30
.
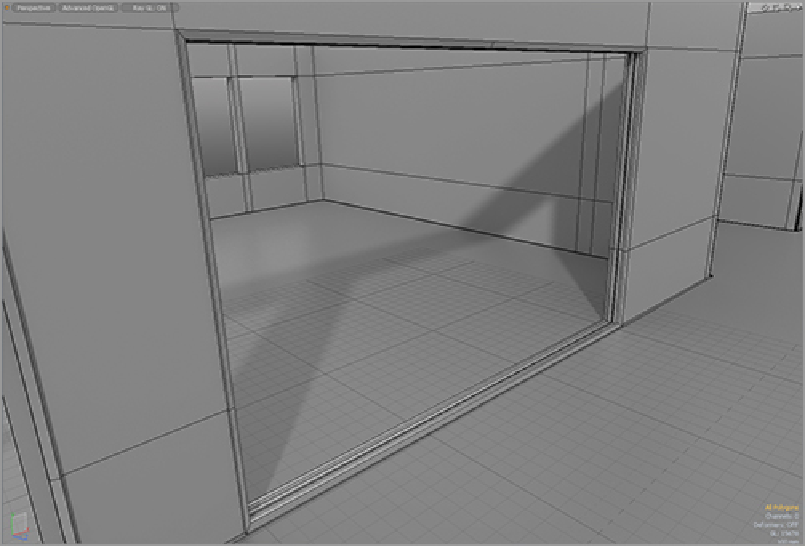
Creating the doors is simple. By adding a centered loop slice through the top (or bottom) of the frame,
two even sections are created for adding doors. Copying and thickening the polygons at the top makes a
good start for a door. A few bevels on each side of the doors will make space for glass. The finished con-
struction should look like
Figure 8-31
.
Figure 8-30:
The finished frame for sliding glass doors
Figure 8-31:
The doors created from existing geometry will fit perfectly into the sliding frame.