Graphics Reference
In-Depth Information
2.
Press Shift+down-arrow to remove the borders from the selection.
3.
Use the Slice tool (Shift+C) to make slices in the middle of each window.
4.
Once all of the slices are made, select the edges related to the window (either one at a time or in
groups of like-sized windows), and bevel the edges to create sections for each window.
5.
Most of the windows in this model are 1 m wide, so beveling 500 mm makes the appropriate-size
opening. There are a few windows with different sizes, so make those individually.
6.
When all of the edges are created, use the Bridge tool (with Select Through enabled) to make the
holes for each window.
7.
At the curved wall, each window is made up of polygons that are already in place, so they do not
need any slices added. However, selecting about 14 polygons on each side should make the proper hole
for those windows.
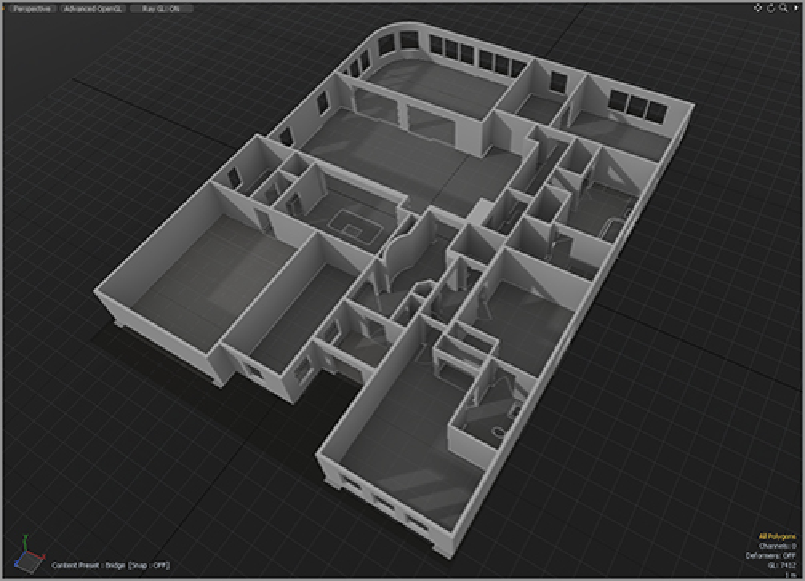
After completing this task, your model should look like
Figure 8-26
.
Figure 8-26:
The model with all window and door openings in place
Creating Archways
The only elements left to add at this level are the archways. These can be created quickly by using falloffs.
To start, you will look at the large arch between the kitchen and the living area. To make the straight section
rounded, more edges are needed. Currently, a single polygon spans the entire area. Again, this is a section
that will not be subdivided with SubDs, so you will need to add enough edges for a good, rounded look
when this process is completed. Because this covers a fairly large amount of space, the level of subdivision
will need to be high. For this purpose, the Loop Slice tool (Alt/Option+C) is perfect: