Graphics Reference
In-Depth Information
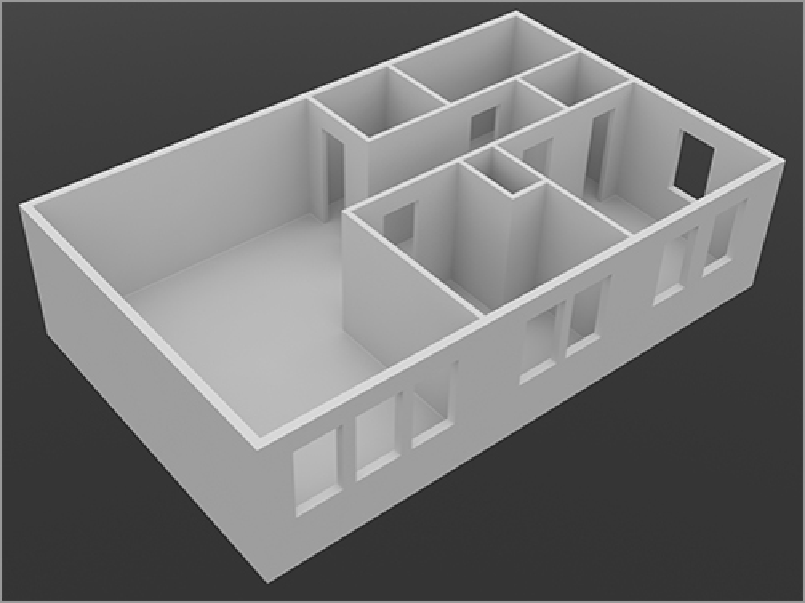
Figure 8-13:
Interior with all of the door and window spaces cut
This model is relatively complete from a basic standpoint and ready for details to be added. For more-
complex interiors, this method can be a bit problematic because a few highly temperamental sections (such
as the wall tops and floors) do not take kindly to additions, changes, or embellishments. For more-complex
interiors, the Wall mode of the Pen tool will provide a much more stable solution.
Using the Pen Tool Method
Making the structure of a more complex layout can be facilitated by the use of the Pen tool. The drawbacks
of the Boolean method become quite clear because open areas, irregular walls, and rounded sections can
make a mess of your geometry in a hurry. Creating the walls with the Pen tool will not only speed up the
process of creating complex architectural forms but will also allow you to add greater complexity without a
great deal of model cleanup later. Using the Pen tool will create clean geometry and keep the walls divided
by quad polygons. To get the Pen tool properly set up for this purpose, follow these steps:
1.
Enable the Pen tool (Geometry
⇒
Draw
⇒
Pen).
2.
Set the Wall Mode option to Inner and then select the Close check box. This will make the walls a
complete loop when in Wall mode.
3.
Select the Show Angles check box. This will display the angles created at each vertex. In this case,
the angles are all right angles, but this will help a lot when you have angled walls.
4.
Enable Snapping (either at the top of the viewports or in the Snapping section of the tool properties).
5.
Enable all of the options under the Pen Snap section of the Pen tool properties.