Graphics Reference
In-Depth Information
The basic model elements are now in place, but there is one thing left to adjust. The polygon on the bot-
tom of the mesh is not needed and can actually get in the way in some of the upcoming steps.
From this point, window and door cutouts can be added quite easily by using the Slice and Bridge tools.
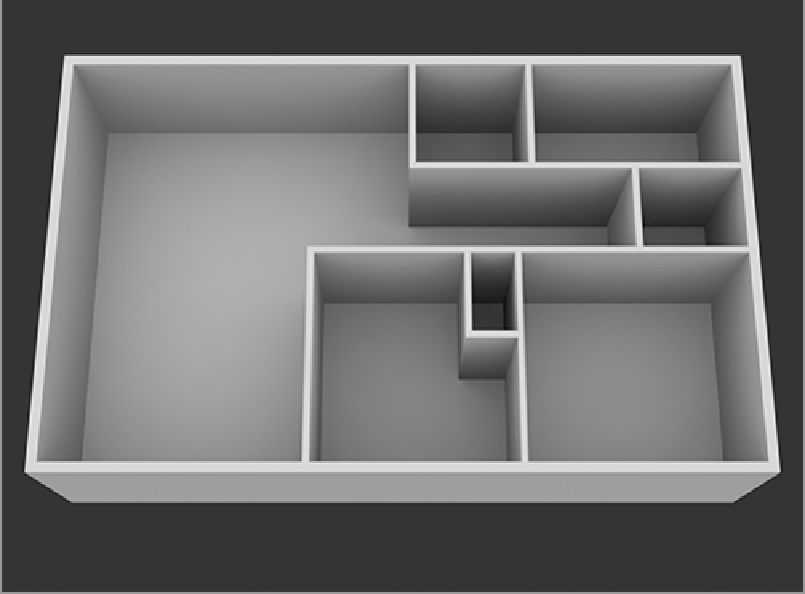
The n-gons in this model are delicate and need to be treated carefully. The biggest problem areas are the
floors. To make these easier to deal with, a similar technique to the one you used with the n-gons in SubD
meshes will be employed. Surrounding n-gons with a border of co-planar polygons will help to avoid is-
sues with shading. Select all of the floor polygons and bevel them in 100 mm. This will create a nice border
around each floor space. To build the framework for windows and doors, you need to take a few steps:
1.
In the front view, use the Slice tool (in Polygon mode) to create an even cut through the geometry at
the height of the tops of the doors and windows (about 2 m in the y-axis).
2.
Add a second slice for the bottom of the windows (about 0.6 m).
3.
Select the interior floor polygons and hide them by either choosing View
⇒
Hide Selected or pressing
the H key.
4.
Use the Slice tool again to place cuts in the middle of each window and door space (in the top view).
5.
Double-click a new edge to select the loop (make sure you are in Edges mode).
6.
Use the Edge Bevel tool (B key when in Edges mode) to create the desired width for each door and
window (make sure to have the Round Level set to 0).
7.
Switch back to Polygons mode and select the polygon(s) on the inside and outside of an individual
door (or window) and use the Bridge tool to cut the hole in the wall.
8.
Repeat step 7 for each door and window to complete the openings for the doors and windows. At
this point, your model will have openings like those in
Figure 8-13
.