Graphics Reference
In-Depth Information
4.
In the side (or front) view, extend the cube up in the y-axis to a height of 3 m.
5.
Extend the y from the origin down 0.2 m (this will provide space for the floor).
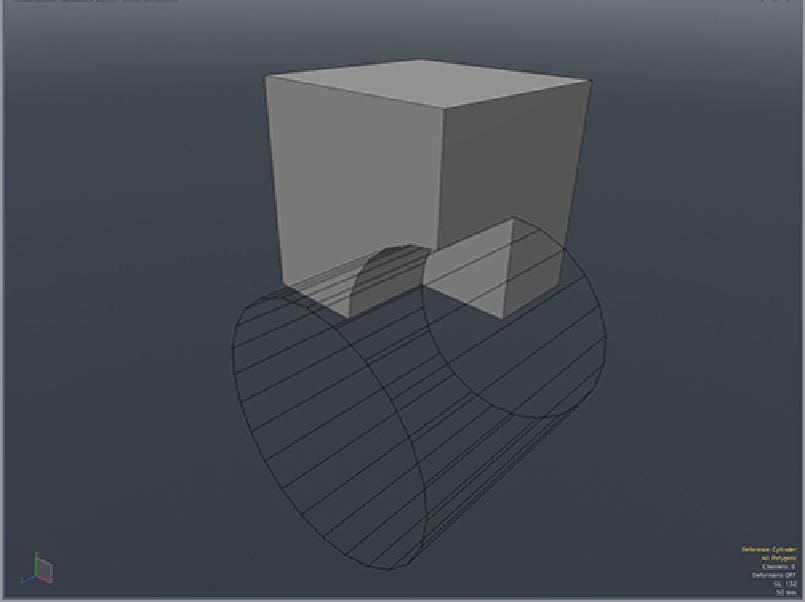
The cube will now look something like
Figure 8-9
.
This will act as the basic footprint for the model. At
this point, you will create geometry for the rooms. Leave doors out of the equation for now. In this space,
you should be able to fit two small bedrooms, a bathroom, a kitchen, and a living room. In a new mesh lay-
er, use the Cube tool to create the basic rooms and closets. Once those areas are in place, the Pen tool can
be used to fill in open areas (or any room that is not a basic square shape). Once completed, your top view
should look like
Figure 8-10
.
Remember that the template for the rooms does not need any depth in the y-axis. That depth will be added
before the actual interior is created. To turn this 2D blueprint into actual 3D rooms, do the following:
1.
Select the polygons that make up the interior space.
2.
Enable the Thicken tool and drag the polygons up in the y-axis until they are above the height of the
cube in the background mesh layer (see
Figure 8-11
).
3.
Select the cube mesh layer.
4.
Use the Boolean operation found in Geometry
⇒
Boolean
⇒
Boolean.
Figure 8-9:
The basic shape of the apartment is created with a cube.