Graphics Reference
In-Depth Information
To create spokes for the umbrella, select the remaining edges and use the Bevel tool (B) to add some
thickness to these edges. Note that the Bevel tool adapts to the current geometry mode (Vertex, Edge, or
Polygon). Set the value to about 5 mm, making sure that at the center of the umbrella (the circular polygon),
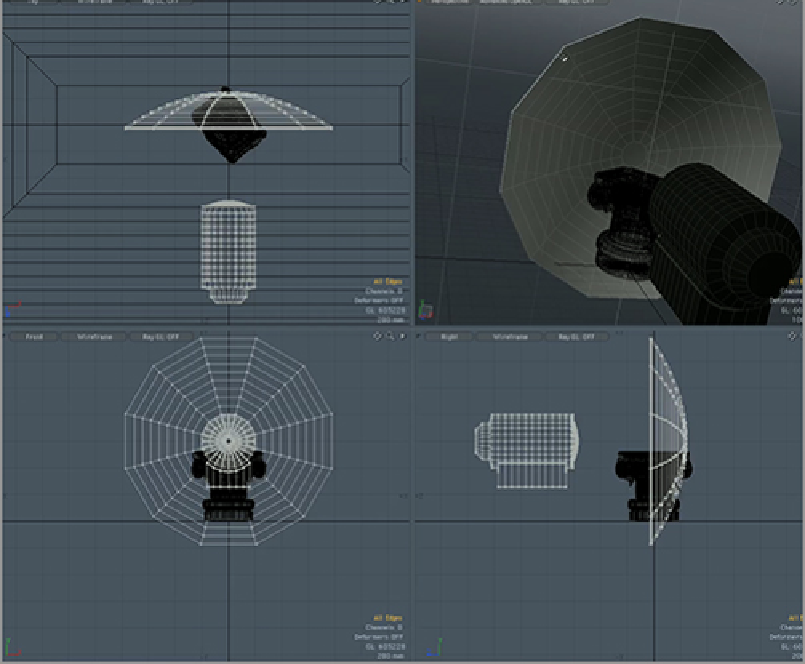
edges are not overlapping. Now you need to select the loops' polygons, similarly to the way loops of edges
were selected in the previous steps. Because polygons do not have a direction by nature, you will need to
select adjacent rows, as shown in
Figure 5-40
.
After selecting these two rows of edges, press the L key to select the loops, and use the Bevel tool to
bevel these polygons outward about 5 mm. With these polygons still selected, press Shift+up-arrow once to
grow the selection of polygons. With this set of polygons selected, press the M key and set a material for the
spokes. Then invert the selection and deselect the spotlight. This is usually done most easily by holding the
Ctrl/Control key and right-clicking a lasso selection around the spotlight in one of the orthographic views,
as seen in
Figure 5-41
.
With only the panels of the umbrella selected, press the M key to add a material.
Figure 5-40:
With two sets of adjacent polygons selected, pressing the L key can create loops.