Graphics Reference
In-Depth Information
Creating the Cloth
Now that the faceted sections of the pedestal are properly smoothed, you're ready to create the cloth that
will sit on top of the pedestal. Before moving onto the cloth, you need to make one simple adjustment that
will facilitate the creation of the cloth object. To use snapping tools to constrain the cloth to the pedestal,
you'll want more points on the surface to aid the snapping tools.
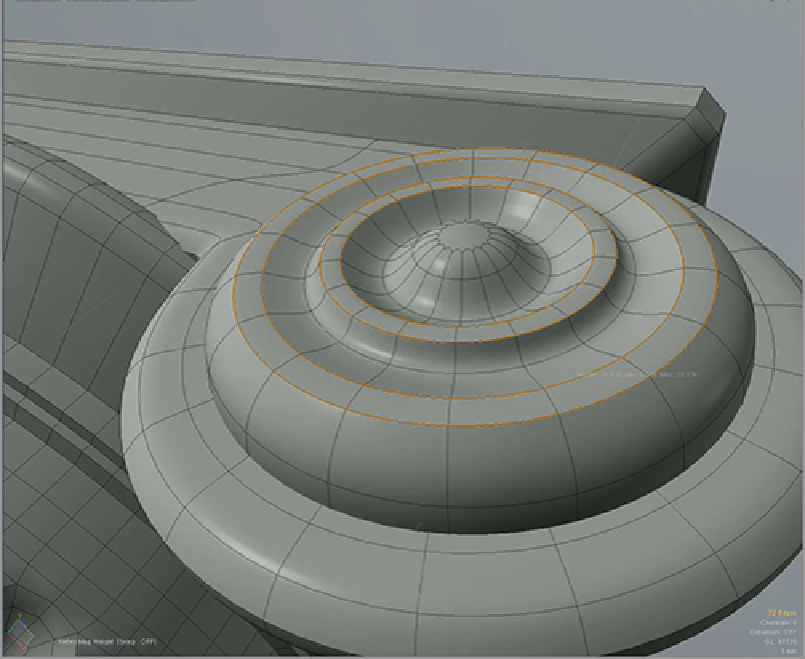
Double-click on the square top of the pedestal and press Shift+D to bring up the options for subdividing
the surface. In this case, you simply need to add more points to the surface of this section. The Faceted mode
will subdivide the selected polygons without smoothing them. Each four-sided polygon will now be divided
into four smaller polygons. Repeat this one or two more times to add surface complexity to aid in the next
section.
The shape of the cloth needs to be created so that the polygons will be “shrink-wrapped” to the surface of
the pedestal. If you create a flat polygon over the top, it will be very difficult to wrap the geometry around
the object that exists in the scene. Because you will use background constraints and the snapping tools to
create the shape of the cloth, the initial polygonal form needs to have some direction that will facilitate the
creation of the form-fitted geometry of the cloth. Much of the work done in creating 3D models has to do
with knowing what forms can be simply manipulated to create the desired shape.