Database Reference
In-Depth Information
4.
You have the option to set the time limit for analysis by expanding the Show Advanced
Options link on the page shown in Figure 10.14.
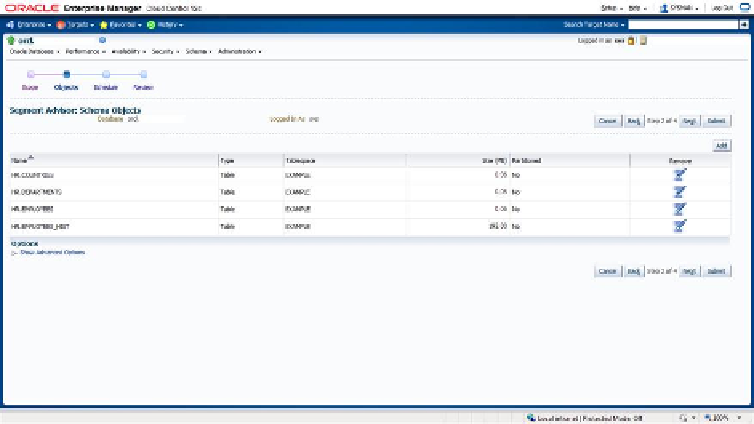
FiGURe 10.14
The Automatic Segment Advisor: Schema Objects page
5.
Once you set the schedule and review it, return to the Advisor Central page to monitor
the Auto Space Advisor task results.
For the example, the Segment Space Advisor chose not to shrink our
HR.EMPLOYEES_
HIST
table.
6.
To be really persistent about shrinking this table, from the EM database home page
go to the Schema page, click Database Objects and then Tables, enter the schema and
object information for
HR.EMPLOYEES_HIST
, and then click the Go button.
The basic information for the object will be displayed, as in Figure 10.15.
Figure 10.16 shows that we chose the Shrink Segment operation from the Actions
drop-down menu.
7.
Under Shrink Segment: Options, choose to compact segments only or to compact seg-
ments and release the freed space. Click the Implement button and you will see the
Shrink Segment: Schedule screen, as shown in Figure 10.17.
8.
Schedule a job to shrink the table by clicking the Submit button then submit the job.
You can see in Figure 10.18 that the job completed successfully, and you can view the
SQL statement executed to shrink the segment.
Search WWH ::

Custom Search