Graphics Programs Reference
In-Depth Information
7.
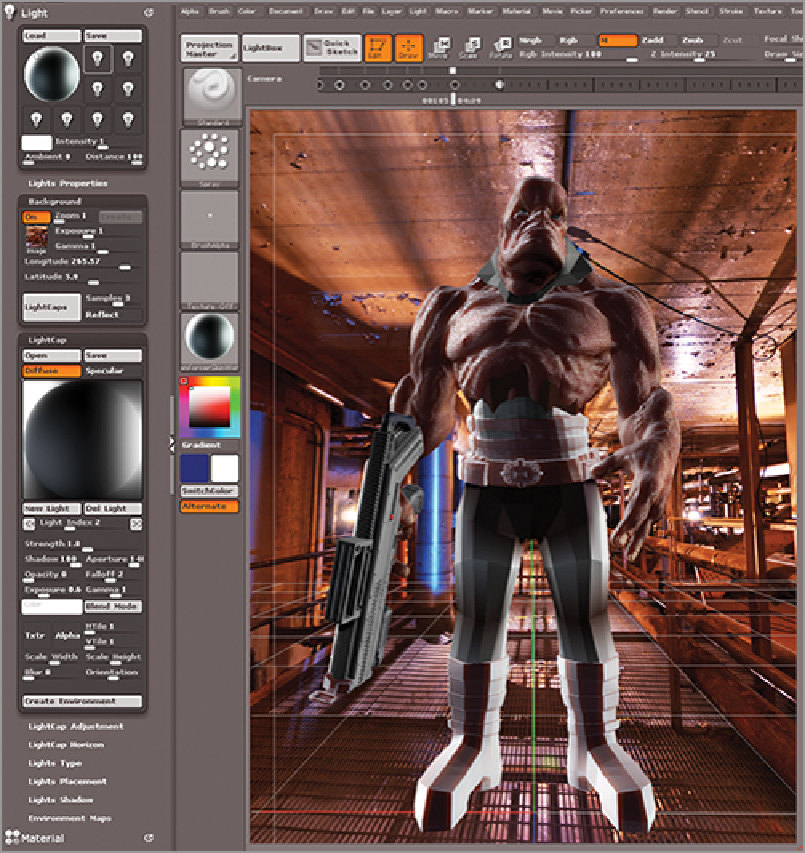
Once you have a view you like, press the LightCaps button in the Background subpalette of the Light
palette. This creates a new LightCap based on the image (see left image in
Figure 10-29
).
8.
The model looks much darker since most of the LightCap colors are extracted from the ambient lighting
of the image. Use the New Light button to add a light to the LightCap. Adjust the Strength, Aperture, and
Falloff of this light so that it lights the model in a more pleasing way. Feel free to add a couple of other
lights for fill and backlight as well (see right image in Figure 10-29).
9.
Once you have a LightCap set-up you like, use the Save button in the LightCap subpalette to save the
LightCap as catWalkLights.ZLD.
10.
Create a test render using BPR and adjust the lights as needed (see
Figure 10-30
).
Figure 10-29:
Create a LightCap based on the colors of the image by pressing the Background button (left
image). Add lights as needed to make the model more visible (right image).
Search WWH ::

Custom Search