Graphics Programs Reference
In-Depth Information
6.
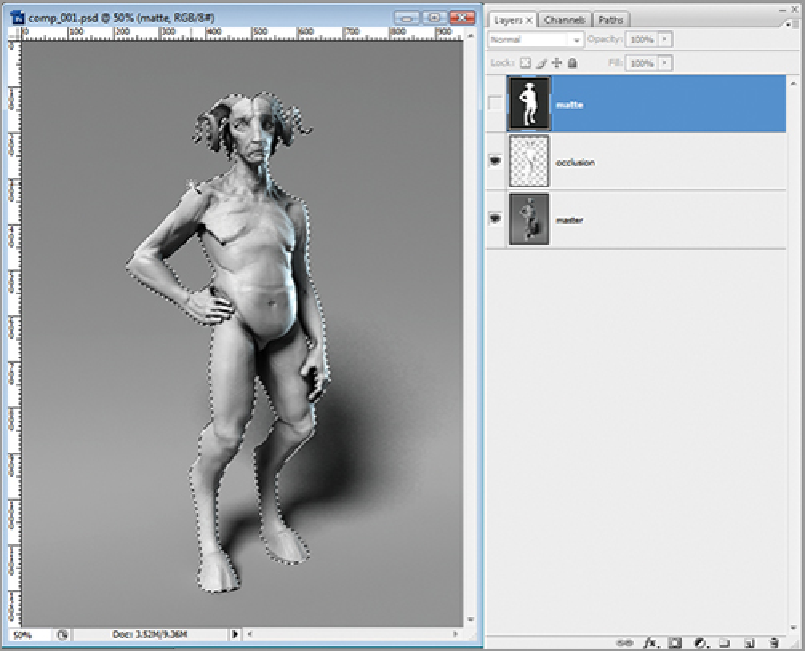
Since we have the figure matte selected now, we can separate it from the background. This will make it
easier to generate a selection later. All you will need to do is Ctrl+Click on the layer and it will automat-
ically select just the pixels of the figure. Press Ctrl + J to jump the selection up into a new layer. Name
this new layer “figureMatte” (
Figure 9-59
)
. You can turn off visibility on both the matte and figure matte
layers now. This will make isolating the figure from the background much easier. All you need to do is
Ctrl+Click on the layer itself to select the figure. The layer need not be active or visible for this to work.
7.
Create a new layer by going to Layer
⇒
New
⇒
Adjustment Layer
⇒
Levels. This creates a levels ad-
justment layer at the top of the stack (
Figure 9-60
)
. When the layer is created, the Levels control window
will appear in the Photoshop interface, allowing you to adjust the levels of the image (
Figure 9-61
)
. This
allows you to apply changes to the lightness and darkness of the layers beneath this adjustment layer.
Darken the image using the layers control sliders. At this stage, the entire image is darkened by the levels
control (
Figure 9-62
)
.
Figure 9-59:
The figure layer
Search WWH ::

Custom Search