Graphics Programs Reference
In-Depth Information
1.
Press Ctrl + A to exit the Attribute Editor and show the Channel box. Alternatively, you can click the
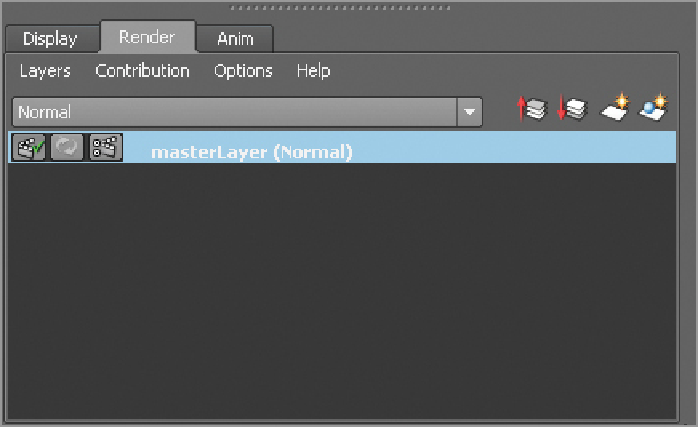
Channel box tab at the right side of the screen. In the Layers menu at the bottom, click the Render tab.
This is where we will create and edit render layers (
Figure 9-35
)
.
Figure 9-35:
Create render layers.
2.
By default, you have a master layer that renders the basic scene with lighting. We will create another
render layer that is set to generate an ambient occlusion pass. Ambient occlusion helps define the shadows
on the figure and is very useful in Photoshop for giving more depth and intensity to the lighting. Select the
figure, pressing the up arrow on the keyboard so the whole group is selected. Holding down Shift, drag a
marquee around the lights to select them as well.
3.
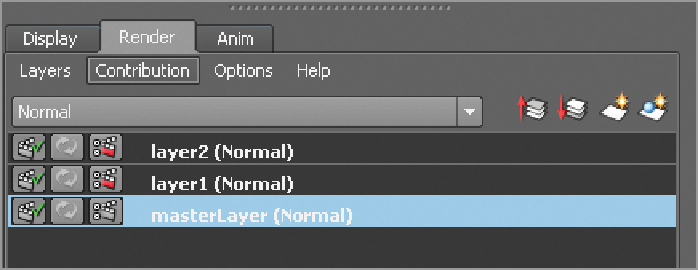
With this selection, click the Create New Layer and Assign Selected Objects button, shown in
Figure
9-36
.
This will create a new layer called layer1 (Normal) and assign the figure and lights to it. Double
click the layer name and rename it Occlusion.
Figure 9-36:
Create new layer and assign the geometry and lights.
4.
Right click on the layer name and from the popup window, select Attributes. This will open the render
layer attributed in the Attribute editor. Click and hold the right mouse button over the Presets button in the
Search WWH ::

Custom Search