Graphics Programs Reference
In-Depth Information
10.
Insert another sphere for the waist. Shift it into position and using the Move brush, give it the general
shape of the pelvis, the abdominal muscles, as well as the muscles of the lower back (
Figure 7-29
)
. Try and
be aware of how the masses of the body interlock and interrelate. They are not just stacked shapes—rather,
they are puzzle parts that interlock (
Figure 7-30
).
11.
Add two more spheres to serve as the buttocks. Shape them with the Move brush as shown in
Figure
7-31
.
Use the Inflate brush with a low ZIntensity setting to inflate the two spheres against each other to
create the illusion of the gluteal cleft where the two glutes meet. Dynamesh to combine these parts.
12.
Select the Insert Cylinder brush. Draw two cylinders into the mesh and position them with transpose
move. These will serve as the base shapes from the upper arms (
Figure 7-32
)
. I will insert the lower arms
in a later step. Dynamesh to combine the parts (
Figure 7-33
)
.
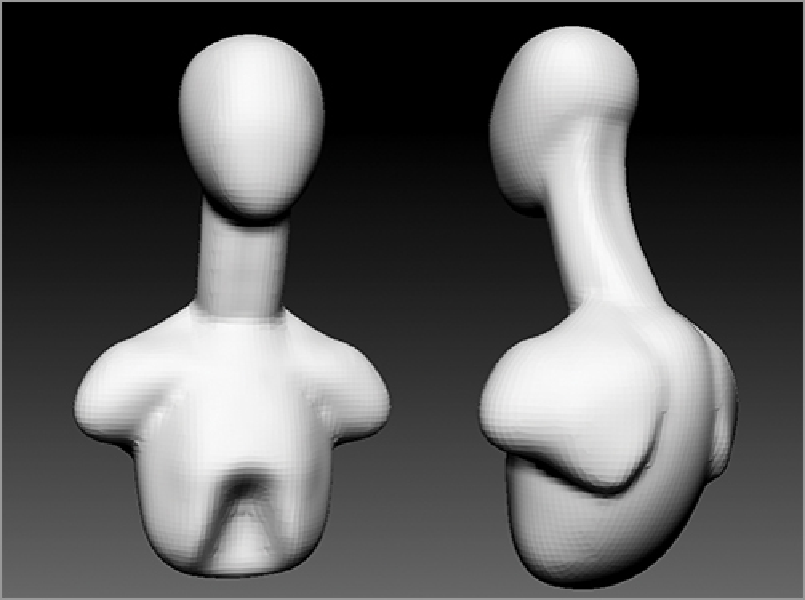
Figure 7-28:
Adjusting the gesture of the neck for a more graceful curve
Search WWH ::

Custom Search