Graphics Programs Reference
In-Depth Information
olution slider too high. I use Dynamesh to establish the overall forms while maintaining a workable lower
resolution mesh. To exit Dynamesh mode, simply press the Dynamesh button under Tool
⇒
Geometry.
Now that we understand the basic approach to Dynamesh, let us look at some of the added functionality
of the Insert Mesh brushes.
Insert Mesh Brushes
ZBrush 4 R2 has further developed the insert mesh functionality to incorporate it into a set of brushes called
the Insert Mesh brushes. We will look now at how these brushes are used to incorporate new geometry into
the model seamlessly.
1.
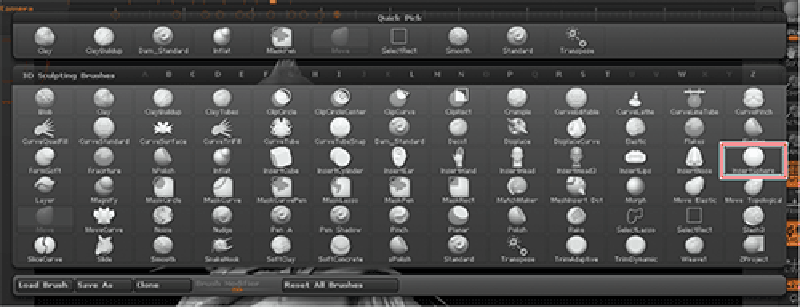
Enable Dynamesh again if you have turned off Dynamesh mode. From the Brush menu, select the Insert
Sphere brush (
Figure 7-12
)
. Click and drag on the ZTool in the document window to insert a sphere.
2.
The model will automatically mask. This allows you to manipulate the sphere with the Sculpting or
Transpose tools. Position the sphere where it intersects the model and clear the mask by Ctrl + Click
dragging a marquee of the model. At this point the mask is merely cleared—the model has yet to be dy-
nameshed. Draw another masking marquee of the model again to update the Dynamesh. The spheres will
now be incorporated into the rest of the model (
Figure 7-13
).
4.
The Mesh Insert brushes can also be used in a subtractive manner. That means you can add volume
with them as well as subtract. From the Brush menu, select the Insert Cylinder brush. Click and draw a
cylinder on the mesh while holding down the Alt key. Any time you draw a mesh with the Mesh Insert
brush while holding Alt, it will subtract that volume rather than add it (
Figure 7-14
)
.
5.
Clear the mesh and then draw a second mask marquee to apply Dynamesh. The cylinders will disappear
and their volume will be subtracted from the model (
Figure 7-15
)
.
Figure 7-12:
Using the InsertSphere brush
Figure 7-13:
The sphere is placed and then the sphere is incorporated with Dynamesh.
Search WWH ::

Custom Search