Graphics Programs Reference
In-Depth Information
At this stage, I want to isolate the face and cranium as well as carve away a negative space in the back
of the skull. To do this, we will use the Clip brushes to slice sway the neck geometry. The Clip brushes
are available under the ZBrush Brush menu. There are a few variants, but here we are using the ClipCurve
brush. Later in this lesson we will use the ClipCircle brush briefly to detail some mechanical elements.
1.
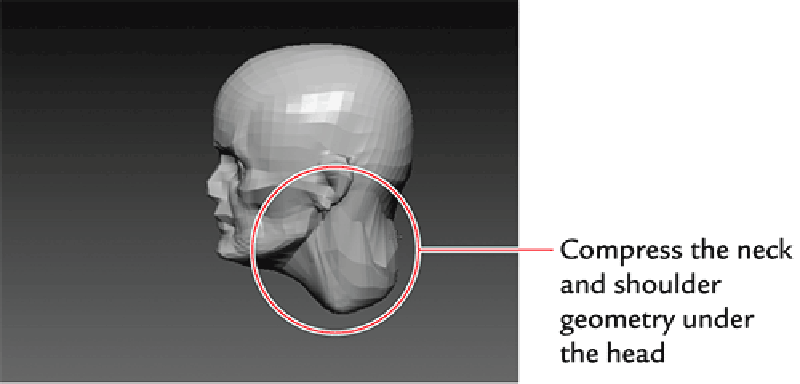
Step down to a lower subdivision level and, using the Move brush, compress the unneeded shoulder
geometry up into the neck. Smooth and shift the faces to gather them beneath the head, where they can
easily be clipped (
Figure 6-3
)
.
Figure 6-3:
With the Move brush, compress the neck and shoulder geometry beneath the head, where it
can easily be clipped.
2.
Press the B key to open the Brush menu and then the C key to show the brushes that start with the letter
C. Select the ClipCurve brush from the menu and rotate to view the head from the side.
3.
Ctrl + Shift + Click drag to create a clipping line. When drawing a clipping line, any geometry that falls
on the shaded side of the line will be clipped while the unshaded side will remain untouched.
Figure 6-4
shows the process of slicing the neck away. Remember to press Alt once to create a curve and twice to
create a hard angle.
Figure 6-4:
Use the Clip brushes to slice the neck geometry

Search WWH ::

Custom Search