Graphics Programs Reference
In-Depth Information
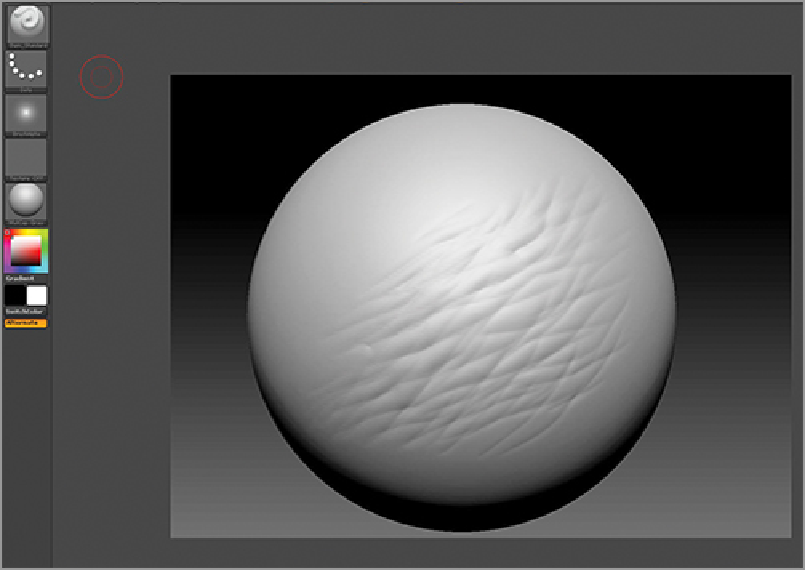
With the sculpting all done, it's time to get some renders, then bring it in to Photoshop to composite, and
then paint the sucker.
Adding Color and Other Details
I don't have one set technique I use repeatedly for each concept painting. Rather, I have a set of tools, which
I utilize in different ways depending on the piece and on my mood. I am always experimenting with my own
technique and also looking at the techniques of other artists.
In general, I use Multiply mode layers to add color and shadow. I use Color and Overlay mode layers
to further play with colors and Normal mode layers to add highlights, details, and to define or redefine the
creature. Occasionally I will also use a Screen mode layer for an effect, but I rarely at all use any of the other
mode layers.
I use Liquefy and the Transform functions regularly, as well as play with the various level and color ad-
justments settings as I work.
To begin, I quickly create a background color and texture. This is simply a layer placed behind the figure
layer in Photoshop (
Figure 5-99
)
. Sometimes I start building up the character's colors before I add something
in the background, but here I wanted something to give contrast early on.
Then I do a little more work on the character using Multiply and Color layers (
Figure 5-100
). Color sec-
tions are painted into Multiply layers to tint the underlying gray model. Highlights are painted into a layer
set to Normal blending mode. The highlights are painted with a small round brush set to about 80% opacity.
These will be the specular highlights.
Search WWH ::

Custom Search