Graphics Programs Reference
In-Depth Information
4.
We will now delete the background for all the layer renders. This will allow us to add a new backdrop
and have total control over its color and value. Had we not deleted the background, we would have extra,
unnecessary pixels in each layer getting in the way. By deleting the backgrounds, we now have only the
figure on every layer except the bottom layer, where we keep the background itself. It makes for a much
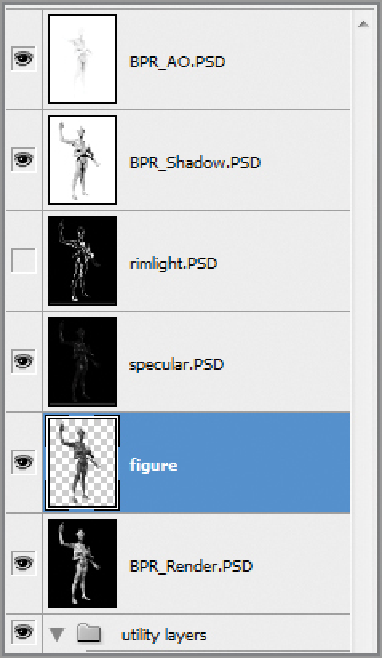
more organized and easy to manage image. Hold down the Ctrl key and click on the image for the figure
layer to automatically select the figure outline. Make sure you click the image thumbnail and not the layer
name. Ctrl + Click will create a selection that conforms to a layer's contents.
5.
Once you have the figure pixels selected, press Ctrl + Shift + I to invert that selection so the background,
not the figure, is selected. Alternatively, you can invert the selection under the menu Select
⇒
Inverse.
6.
Now select each layer and press delete. Because the pixels on the outside of the figure are selected,
this will remove the background from each layer. When you are done, you will see only the figure on a
checkered backdrop (
Figure 5-19
)
.
Figure 5-19:
Background deleted and checkered backdrop visible
Search WWH ::

Custom Search