Graphics Programs Reference
In-Depth Information
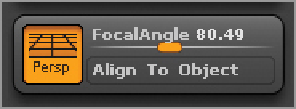
The last step before you render is setting up lighting and camera settings. Camera settings are controlled
by the Focal Angle slider under the Draw menu (
Figure 4-43
). This is set by default based on object scale,
but you can control the perspective distortion by adjusting this slider.
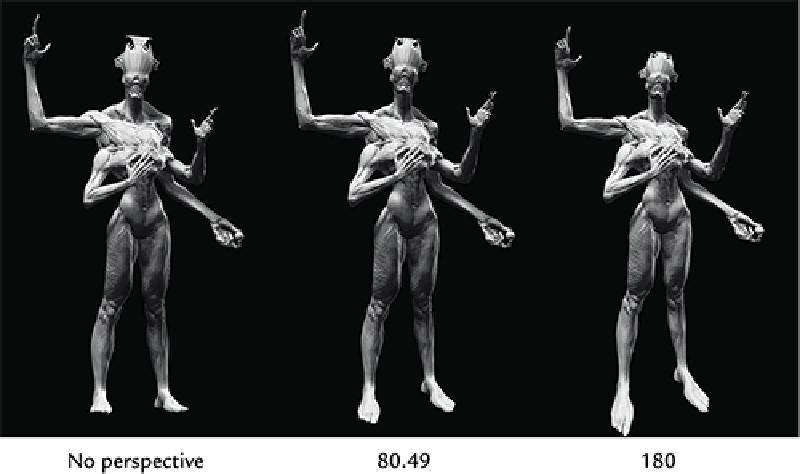
Figure 4-44
shows the effect of a few
different settings. Experiment on your own figures though, as the FocalAngle setting will always appear dif-
ferent depending on the original scale of the object in the document window. Remember that the focal angle
is specific to the ZBrush camera and will not correspond to camera settings in other software packages or
the real world.
Figure 4-43:
The FocalAngle slider adjusts the camera perspective.
Figure 4-44:
The effect of altering the perspective settings
Lighting is adjusted under the Light menu. Follow the next few steps to create a key and rim light lighting
setup. The key light is the main light that casts the dramatic shadows on the figure. The rim light will shine
from the rear and create a bright rim of light around the edge of the forms. This will both define the shapes
and bring the figure forward from the background.
1.
Open the Light menu and dock it to the side of the screen.
2.
Click and drag the orange light icon to adjust the key light placement (
Figure 4-45
).
3.
Turn on the next light by clicking the light bulb icon. Turn the Intensity all the way up and move to the
center of the sphere (
Figure 4-46
).
4.
Click on the orange placement icon to put the light behind the object. You will see the light change in
the document window to appear to be lighting the object from behind (
Figure 4-47
). Move the light to the
edge to get a nice rim light. This light setup will save by default with the ZBrush project.
Search WWH ::

Custom Search