Graphics Programs Reference
In-Depth Information
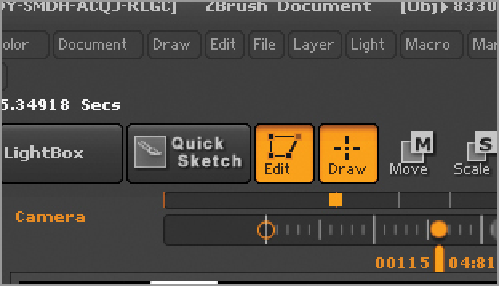
Figure 4-40:
This layer contains changes to the figure position.
4.
Once you have your options stored, you can quickly move between them using the arrow keys. This
allows you to quickly evaluate which compositions appear the strongest.
You can also use TimeLine to store changes in the pose. This is helpful in allowing you to have multiple
body positions stored as well as camera positions. This makes it easier to render out multiple image options
to Photoshop to paint over later. To add poses to a layer follow these steps. (Be sure to see the DVD or
download files for a video illustrating the process of storing poses in layers with TimeLine.)
1.
Create a new layer while at the highest subdivision level.
2.
Use Transpose to make changes to the figure pose. Changes will be stored on the newly created layer.
Rename this layer “pose variant” by clicking the Name button (
Figure 4-41
)
.
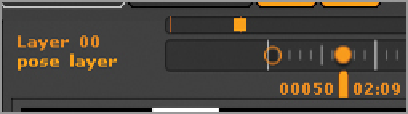
Figure 4-41:
Create a new layer and name it Pose Variant.
Search WWH ::

Custom Search