Graphics Programs Reference
In-Depth Information
Further Refining
Now I will rough in most of the angles and forms. At this stage in the tutorial, I hope you are getting an
idea of how I am considering these shapes and what I am going for with the mesh as I move it. For me, the
design process is a constant push and pull of shapes as I try to make each decision serve the overall look
and intention of the character. In
Figure 2-39
,
you can see how I am considering the triangular shapes that
make up the whole character head and the overall silhouette as well as the basic form language, or how the
volumes of the head interrelate.
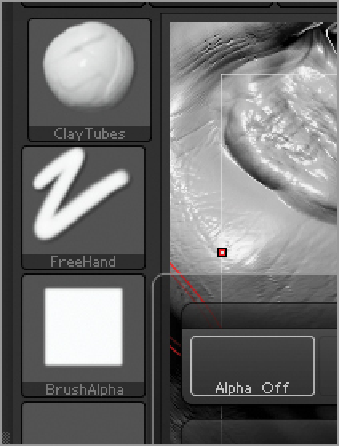
Using the Clay Tubes brush, I quickly stroke some folds into the face (
Figure 2-40
)
. These are intention-
ally sketched in a quick, gestural manner so that they draw the eye down into the angles of the mouth and
chin. The lower portion of this creature's face is all about tightening angles and points. I also suggest the
anatomy of the neck and collarbones (
Figure 2-41
). Notice how I have just quickly suggested these with two
strokes of the brush. I think that this kind of quick, confident approach is important in ZBrush, just like it
is in drawing and painting. If you have a clear idea where a muscle starts and ends, you can easily sketch
its form on the surface. If you are able to learn about the anatomy enough that you can suggest muscles and
bones with short, confident strokes, your sculpture will appear less overworked and more spontaneous. I al-
ways try to be confident when I sculpt, even when I am not confident in where it is going. In the end, a bold
sculpture will look better than a weak and overworked one.
Figure 2-39:
This image illustrates the interplay of angles in this character head.
Search WWH ::

Custom Search