Game Development Reference
In-Depth Information
chapter 9
Engine
The previous chapters have developed an excellent reusable body of code. Rather
than copy this code from project to a project, it should be collected together in its
own awesome engine library. It can then be shared by several game projects so
that all changes and improvements happen in one place.
The game engine project will be unlike any of the projects we've created so far.
The game engine doesn't run by itself; instead, it is used by a separate game
project. This means the game engine is more correctly referred to as a library
rather than a program. As you learn more techniques, you can add more code to
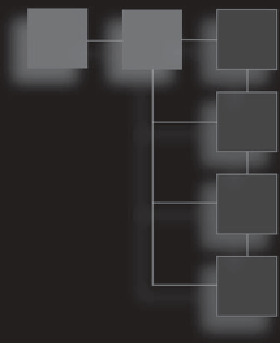
this library and tune it to your needs. Figure 9.1 shows how the library can be
used by several projects at once.
Close any projects in Visual Studio and start a new project by going to File > New
Project. This will bring up a dialog box, as shown in Figure 9.2. Choose the Class
Library option. The game engine will be a library used by other projects. Next to
the name, I've chosen simply ''Engine,'' but this is your game engine so name it
whatever you like.
If you are using Visual Studio 2008 it's important to remember to change the
build type to
86. This is because the DevIL libraries are currently only available
for 32-bit projects. Right-click the project, choose Properties, and click the Build
tab. On the Configuration drop-down box, choose All Configurations, then on


Search WWH ::

Custom Search