Information Technology Reference
In-Depth Information
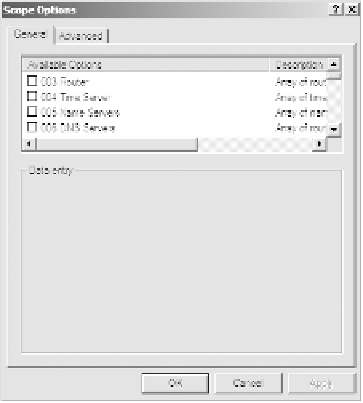
figure 2.40
The Scope Options dialog box
4.
Continue to add options until you've specified all of the ones you want attached to the
server or scope. Then click OK.
Configuring the DHCP Server for Classes
You saw how to assign classes to individual machines earlier in the chapter. Now you
will learn how to configure the DHCP server to recognize your customized classes and
configure options for them. In Exercise 2.11, you will create a new user class and configure
options for the new class. Before you begin, make sure that the computers you want to use
in the class have been configured with the
ipconfig /setclassid
command, as described
in the section “
Ipconfig
Lease Options” earlier in this chapter.
e xe rCiSe 2.11
Configuring user Class options
1.
Open the DHCP snap-in by selecting Administrative Tools
➢
D H C P.
2.
Right-click the IPv4 item and select Define User Classes.
3.
Click the Add button in the DHCP User Classes dialog box.
4.
In the New Class dialog box, enter a descriptive name for the class in the Display Name
field. Enter a class ID in the ID field. (Typically, you will enter the class ID in the ASCII
portion of the ID field.) When you have finished, click OK.
5.
The new class appears in the DHCP User Classes dialog box. Click the Close button to
return to the DHCP snap-in.


Search WWH ::

Custom Search