Information Technology Reference
In-Depth Information
Setting the Screen Name
The Scope Name page allows you to enter a name and description for your scope. These
will be displayed by the DHCP snap-in.
It's a good idea to pick sensible names for your scopes so that other
administrators will be able to figure out the purpose of the scope. For
example, the name DHCP is likely not very helpful, whereas a name like 1st
Floor Subnet is more descriptive and can help in troubleshooting.
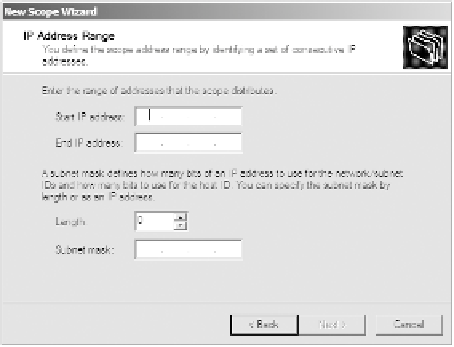
Defining the IP Address Range
The IP Address Range page (see Figure 2.19) is where you enter the start and end IP
addresses for your range. The wizard does minimal checking on the addresses you enter,
and it automatically calculates the appropriate subnet mask for the range. You can modify
the subnet mask if you know what you're doing.
figure 2.19
IP Address Range page of the New Scope Wizard
Adding Exclusions and Delay
The Add Exclusions And Delay page (see Figure 2.20) allows you to create exclusion
ranges. Exclusions are TCP/IP numbers that are in the pool, but they do not get issued to
clients. To exclude one address, put it in the Start IP Address field. To exclude a range, also
fill in the End IP Address field. The delay setting is a time duration by which the server will
delay the transmission of a DHCPOFFER message.
Although you can always add exclusions later, it's best to include them
when you create the scope so that no excluded addresses are ever passed
out to clients.


Search WWH ::

Custom Search